Easily make this inexpensive tissue paper heart wreath with just a few supplies to add a little love to your home for Valentine’s Day this year.
Post contains affiliate links at no extra cost to you.
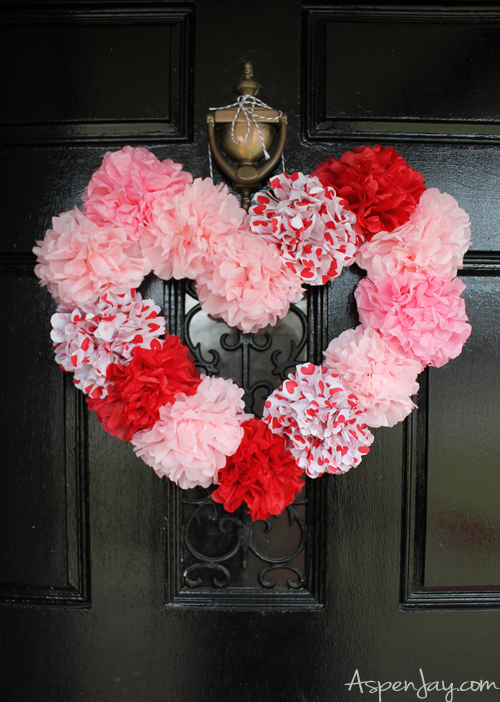
January was as slow as molasses and February seems to be flying by! Okay, I know it is only the 8th, but it will be Valentines in less than a week which makes it practically March!
Sooo… my figuring is not quite right, but you get the picture. 😉
I love decorating for holidays and adding to my decorations. I have been hankering to make a little something for Valentines and thankfully this past weekend it all came together in this tissue paper heart wreath that turned out pretty cute and cost me practically nothing.
It’s pretty easy to make, and I’ll be here to walk you through the whole process.
But first… Valentines Printables for YOU!
Another quick way to decorate is by using printables. I’ve compiled a list of a few of my favorites (they are all free!) that will help create some love vibes to any corner of your home. So be sure to check those out!
- Valentine’s “XOXO” Banner
- Shakespeare Valentines Printable
- Famous Couples Art Print
- Valentines Subway Art Print
Now back to the DIY paper heart wreath!
Tissue Paper Heart Wreath Tutorial
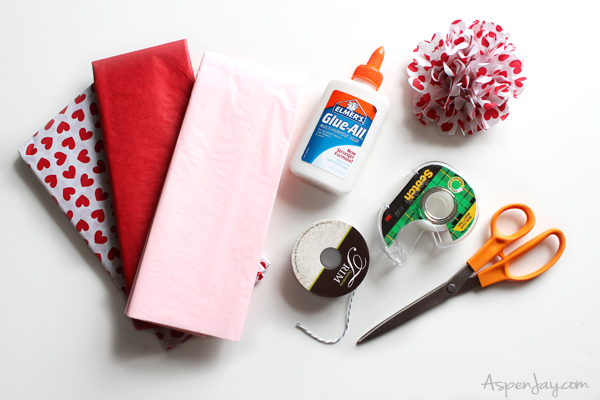
Supplies needed:
- tissue paper
- tape
- scissors
- glue
- baker’s twine, ribbon, etc.
- cardboard heart cutout (this heart does not have to be perfect, as you can see a few pictures below, mine wasn’t. Just as long as you have the general shape you will be good. I made mine out of a cereal box but any old box will do! )
Step 1: Make Several Tissue Paper Flowers
To make these small flowers, I took a 20 in x 20 in piece of tissue paper. I cut it in half, and placed one half off to the side. With the other half, I folded it again vertically and horizontally and cut on the folds, ending up with four 10 in x 5 in rectangles. With those four pieces, I began constructing a flower. I was able to get two flowers from one piece of tissue paper.
If you want to see a tissue paper heart wreath with HUGE flowers, you should check out the wreath I made for our Valentines Dance Party last year.
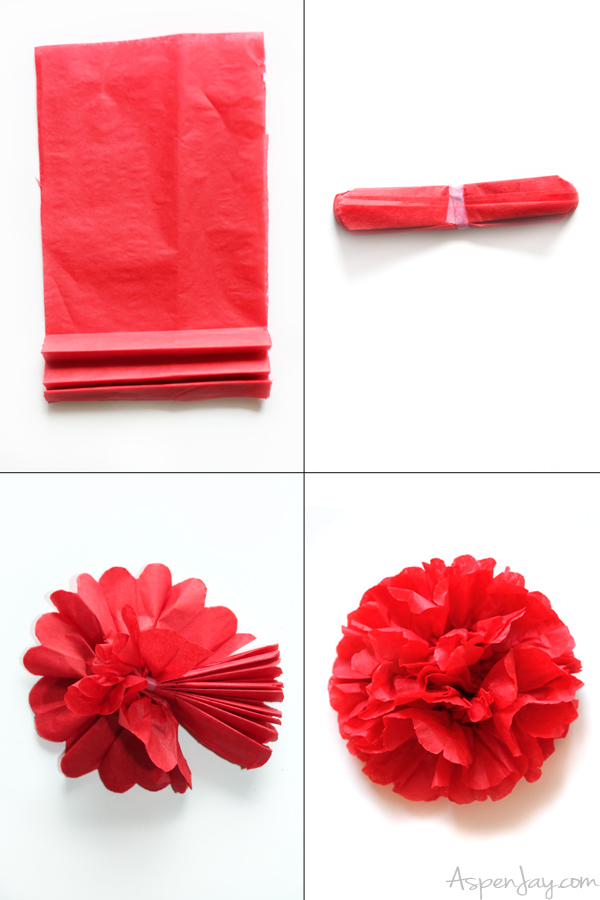
Stacking the four pieces, I folded them evenly, accordion style. When I reached the end I folded it in half and secured with a thin piece of tape (you can also use string). I trimmed off the edges and then carefully began to pull out the tissue paper one piece at a time to get the final flower result.
Step 2: Assemble & Secure Flowers onto Heart
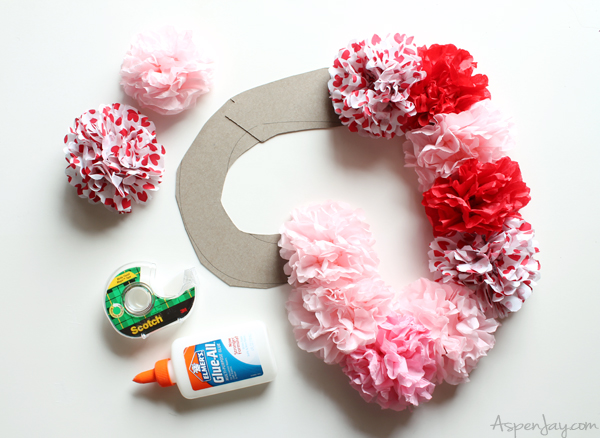
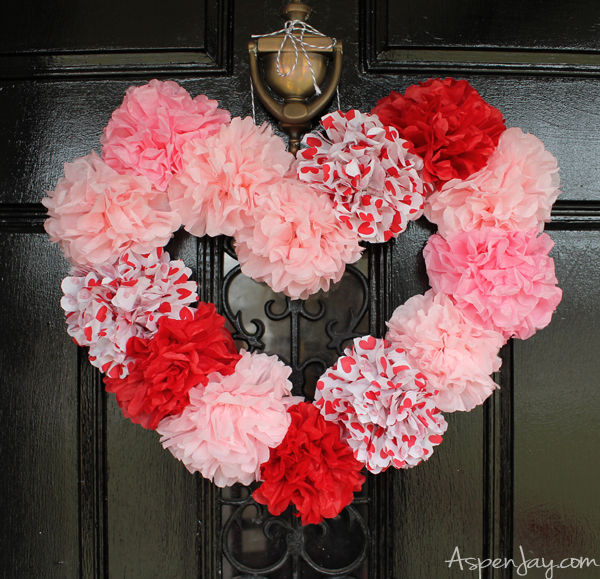
After making all the flowers, I assembled them onto my cardboard heart with tape. I made sure that I liked the placement and then secured each one with glue. After letting the glue on the flowers dry, I tied a piece of bakers twine around the heart. Then hung the completed tissue paper heart wreath up on my front door.
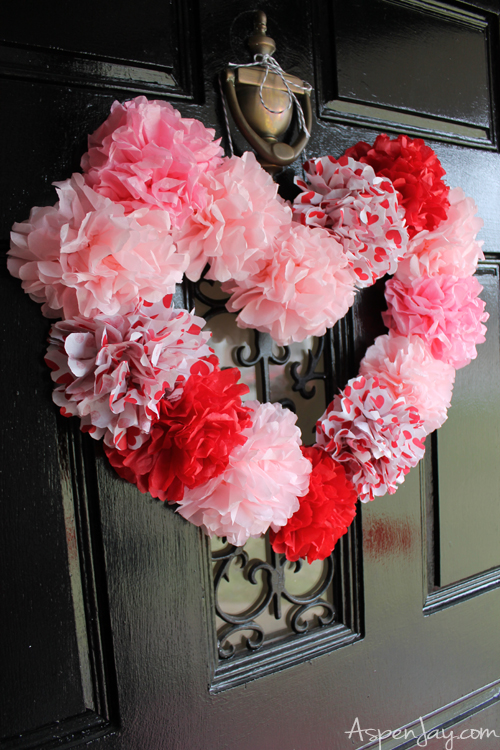
And voilà!
My Valentines Wreath is complete just in the nick of time for February 14th! To tell you the truth, I didn’t think I would like it as much as I do. And to top it off, it only cost me about $3 dollars! 🙂 Double success!
Did you find this post helpful? Then save THE PIN below to your VALENTINES BOARD!
❤️ Looking for more fun Valentine’s Day printables and ideas? Below are some of my favorites!
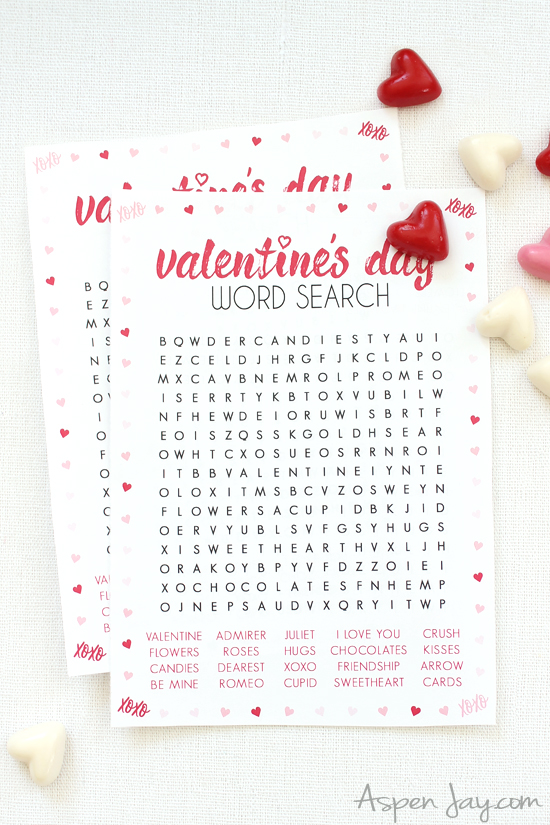
Free Valentine’s Day Word Search
Free Shakespeare Valentines Printable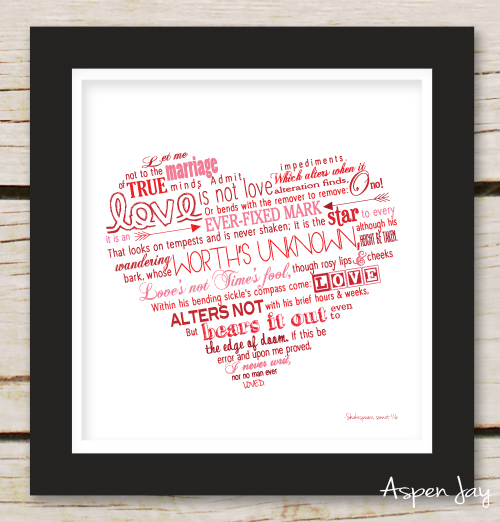




The flowers look luxurious! It’s a welcoming wreath for the “Valentine’s season” and beyond.
Hi Aj, love your fun wreath! Great, inexpensive, and so cute! Thanks for sharing with SYC. I’m sure it’s not intentional, but I’m not seeing SYC listed amongst your link parties.
hugs,
Jann
Super cute! Love the pom poms. Visiting from Sweet Inspiration party.
It almost looks real and it’s so gorgeous. What a lovely way to add decor for Valentine’s day, thank you AJ
This would have been perfect for my daughter’s wedding last August. Dang, wish I would have thought of this great idea – love!
AJ, this turned out really pretty. When I first saw the picture I thought they were carnations. What a great welcome to anyone who approaches your door and under $3 to boot!
This is so so so cute! I love it
I love this! I think I need one for my front door. Thanks for sharing this idea with us at the Wednesday Showcase!
What an easy project with minimal supplies. I love the way it turned out 🙂
Such a cute wreath! We made tissue paper flowers for Mother’s day this year and my boys just loved them. This is such a fun idea for dragging those supplies back out! Pinned.
Love this! Looks very nice!
Very nice. Good effect.
What a cute wreath, I love it! I’m glad I found you on DIY Collective!
This turned out really cute! LOVE it!
Thanks for joining Cooking and Crafting with J & J!
Love it! Great way to recylce cardboard and gift tissue paper. Gonna give this a try. Thanks for sharing!
January felt the same way for me too! Your heart wreath is so pretty, and I love that it only cost you $3. Last year I cut out a piece of cardboard shaped in the form of a “W” for our last name and glued glitter to it and attached it to a grapevine wreath. It was free decor for our front door which is the best kind!
Clever craft! I love how versatile it is–you can change the color scheme or even the shape, depending on the occasion! I was never really good at making paper flowers, but I love the step by step instructions and visuals you gave here. Thanks for joining us on #Shinebloghop this week!
That is a super cute wreath and it looks like it is so easy to make! Thank you for sharing this!
Found via This is How We Roll Thursdays.
Thanks Lissette! It is very simple to make. The tissue paper flowers take a little time but it can all be made within an hour. Thanks for stopping by!
I love this inexpensive wreath! Always looking for more Valentine’s Day decorations so thanks for the idea!
This is adorable! Thanks for the step-by-step tutorial! 🙂
So pretty and so simple! Im gonna try this,thanks for sharing!
You make the cutest things!! I want all the things you make for your home, seriously. I enjoy seeing what you link up every week.
Thanks for sharing at Manic Monday linky party, hope to see you next week!
Thanks so much Stephanie! That brought a smile to my face. 🙂 Thanks for hosting, I will be sure to be there next week!
I know what you mean! It’s almost spring!!!! yay! This wreath is super cute and so easy to make, I like that you just randomly glued the tissue paper flowers on, in no particular order!
Wow! So cute! Thanks for sharing 🙂
Thanks Michelle!
I love this really cute wreath!
Thanks for sharing this at Cooking and Crafting with J & J.
That turned out super cute! You are the queen of making the cutest stuff starting with cardboard!
What a cute wreath! I love it, and it looks fabulous on your door!
I came over on Modest Mom to find your post today.
I’m sharing it on Stumble Upon.
Hope you have a blessed day~
Melanie