Add a pop of wow at your event by creating your own party sign on a budget!
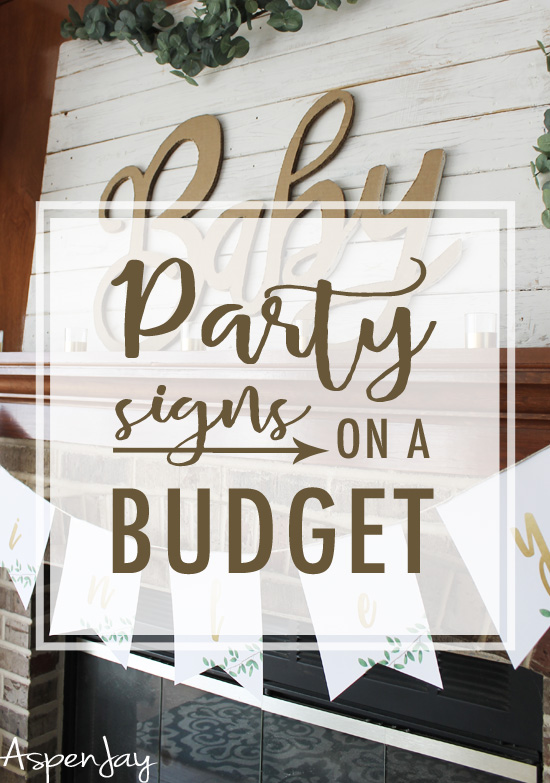
So you like to throw parties…
but you have a limited budget.
I totally get that, I’m in the same boat.
Parties are a TON of fun (I recommend people hosting a party at least once a year)! Yet from expenses of decorations to food costs (Oh my, the food alone!), to party favors, can quickly add up and may detour you from throwing one.
But the good news is, if you are willing to put in a little extra work and get creative, you can absolutely keep those costs down without sacrificing the look you are going for.
I have a slew of methods and ways to share with you. I definitely need to write a detailed post on this for I get giddy just thinking about all the ways to cut costs while throwing a party! But for now, I have one one way or rather item that I have utilized at many of my parties.
It comes in really handy for the party decorations. I have used it over and over again, namely in creating a party sign on a budget, as seen here, here, and here. It’s easy to use, freeeeeee, and the possibilities are endless! Oh and did I mention free? 😉
That wonderful item is…
cardboard.
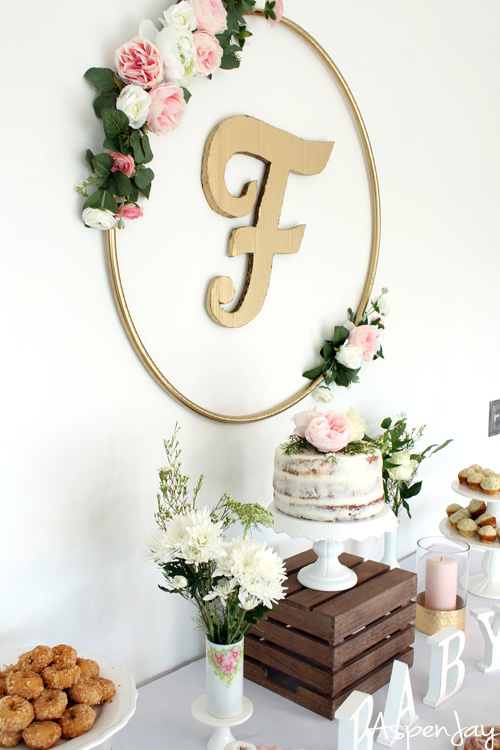
Yep, cardboard can definitely be your friend when it comes to party decorations! And no, just because it is cardboard doesn’t mean that your decor has to look cheap! Did you spot it in the above photo?
This pretty picture was from a recent baby shower I hosted (post coming soon!). For this party, I really wanted to use those wood name signs that are super popular right now. I perused online and couldn’t find anything less than $40 (not counting shipping). Yikes! That much for something I may or may not use again. But I REAAALLLLY wanted it so was prepared to fork out the funds. As I was putting it into my online cart and talking to my husband about it, he said “I could totally make that for you out of the leftover wood we have”.
You can?!?!? Perfect!
We did a mock up using cardboard of one of the signs I needed (the “F” seen above). It turned out so good (and due to lack of time 😉 ), I decided to use it and make the other sign I needed out of cardboard as well.
The signs turned out just how I was envisioning them and I saved myself some $$$$ to boot! 🙂
The process is pretty self explanatory, but I’ll walk you through what we did just in case.
How to make a Party Sign on a Budget
1. Draw out design
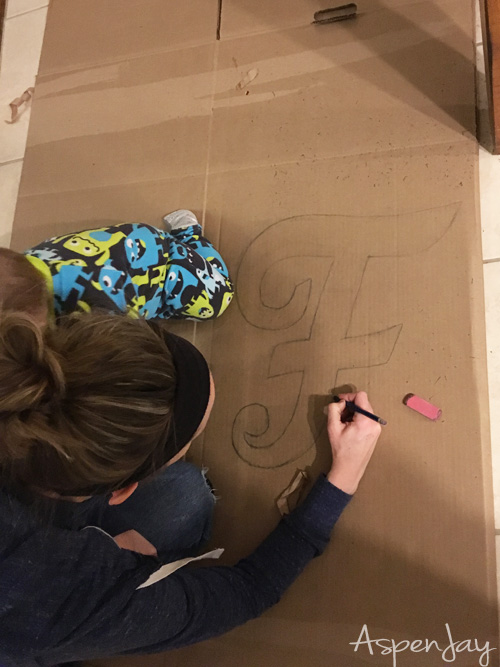
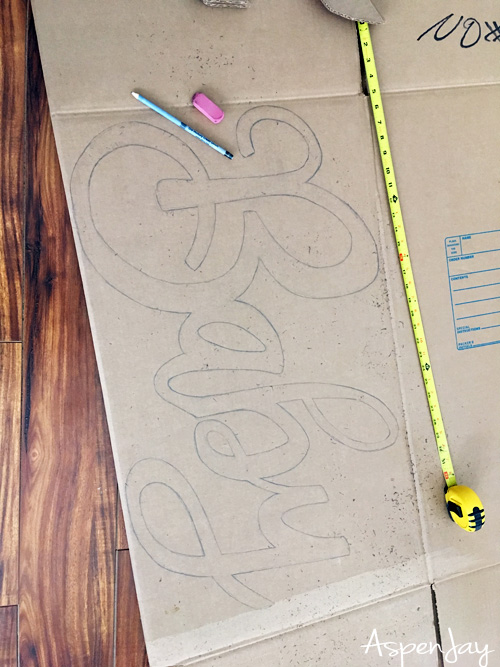
First off, I mapped out on a smaller scale what I wanted the sign to look like. Then measured out the space above my fireplace where I wanted to display it to see how big I should make it. I then sketched out the design onto the cardboard. I doubled up the cardboard so the sign would be a little more thick to give it dimension and appear like the wood signs.
2. Cut out design
We have used a razor blade in the past for our cardboard projects (like these photo props we made for this party), but this time my husband used his jig saw. One little trick he used is to wait to cut out the part that is bent until the last (since there are two pieces of cardboard) so that he could keep everything in line. He then used sandpaper to smooth out the rough edges.
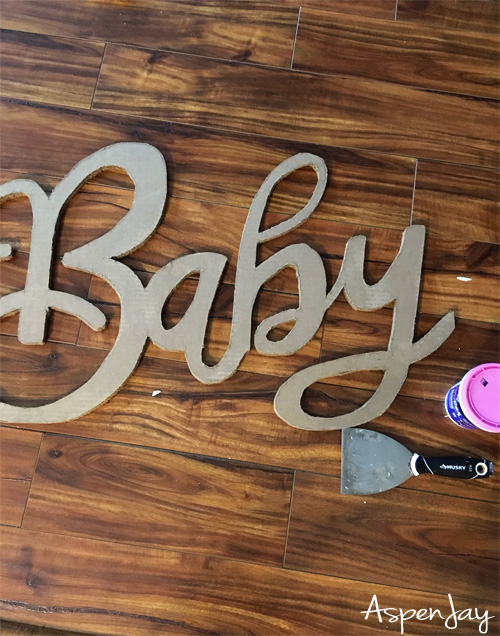
3. Puddy sides (optional)
The front of the sign looked fine, but the hollow texture of the side was a definite give away of cardboard. So what I did was putty the sides with some spackle we already had on hand to cover up the pattern that the cardboard gives.
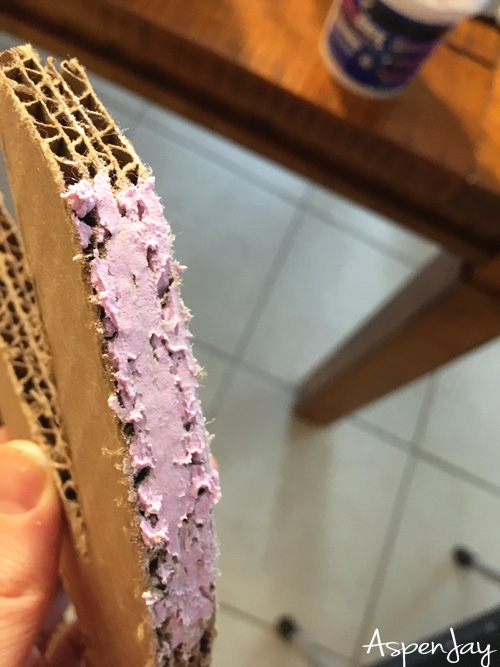
4. Paint (optional)
After the spackle dried, we spray painted the sign gold, the “f” anyways. I originally wanted the “baby” sign gold as well but decided that I rather liked the color of the cardboard rather than the gold.
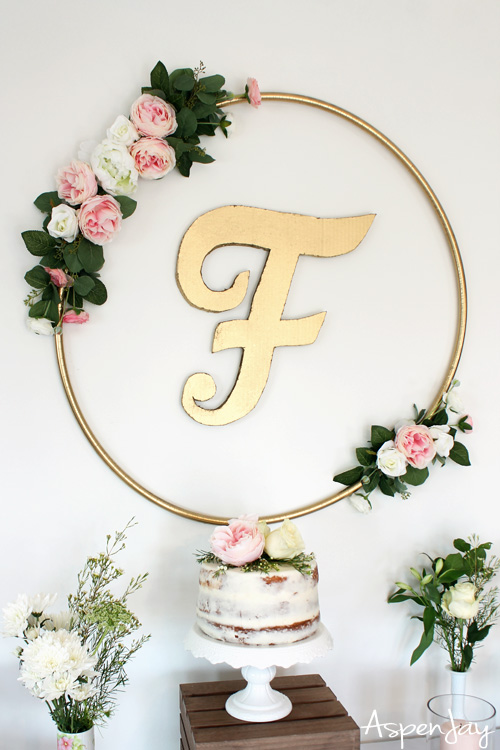
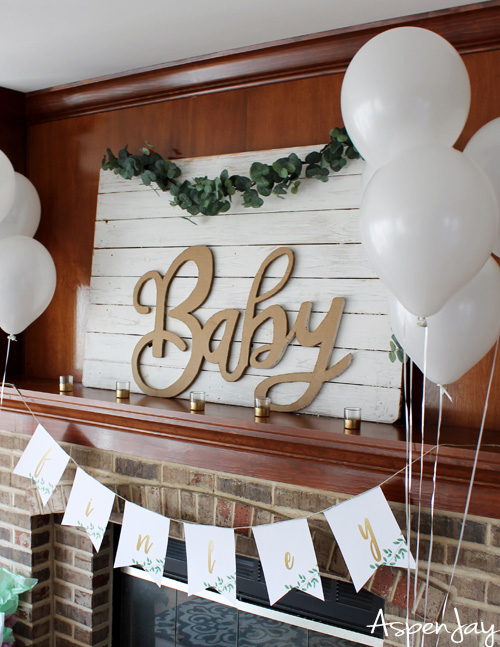
And there you have it!
A beautiful party sign that cost you less than a dime!
Sorry… I couldn’t help myself with that rhyme. 🙂
What kind of party sign on a budget will you be making? Tag @aspenjay_blog on Instagram or send me a photo. I WANNA SEE!!!
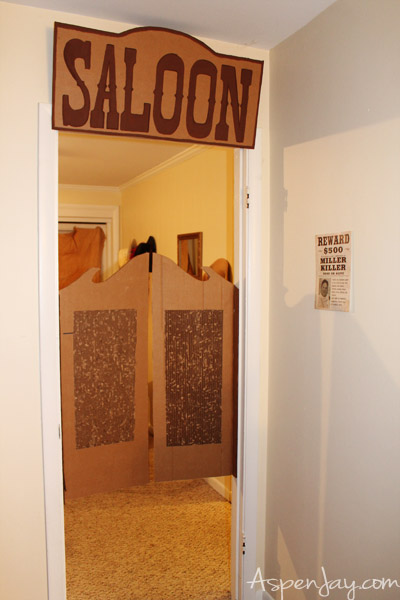
You like our western party entrance? Yep, cardboard. 😉
How about this pinata garland? Yep, more cardboard.

[…] DIY door or party signs – upcycled décor, you love to see it. […]