Create the perfect Christmasy feel by adding a hot chocolate station to your home, work space, or upcoming holiday party! Learn everything you need to make one, including some festive hot chocolate printables to help you get started!
Post contains helpful affiliate links at no extra cost to you.
I really love Christmastime. The lights, the smells, the delicious goodies, there are just so many wonderful things to enjoy this time of year. One of my favorite things about the season is the music. Nothing lifts the spirit and gives hope like a Christmas carol.
Every year, my family would pile into our old massive Chevrolet van (there were 10 of us) to drive to friends’ homes to share the joy of the season by singing a few Christmas carols. Those were wonderful memories!
I’ve carried on that tradition of caroling, but combined it with, you guessed it, a party! For several years now, my husband and I have enjoyed inviting friends and family to attend our annual caroling party. Everyone meets at our home where we hand out a few jingle bells and then head outside to sing carols to our neighbors. Afterward, we return to our home to mingle and enjoy yummy baked goodies.
But before trudging out into the cold to sing carols, we encourage everyone to fill up a cup of hot cocoa to help keep warm. So every year I’ve created a hot chocolate bar to go along with our Caroling Party. I love making these types of bars because they are very easy to set up and maintain during the life of the party.
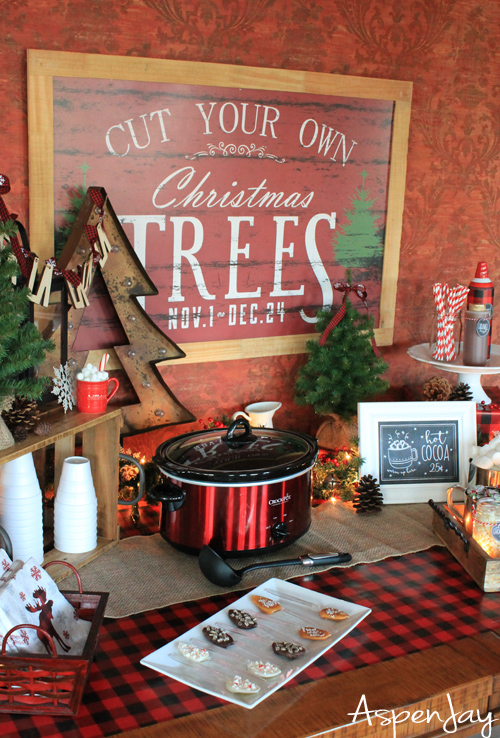
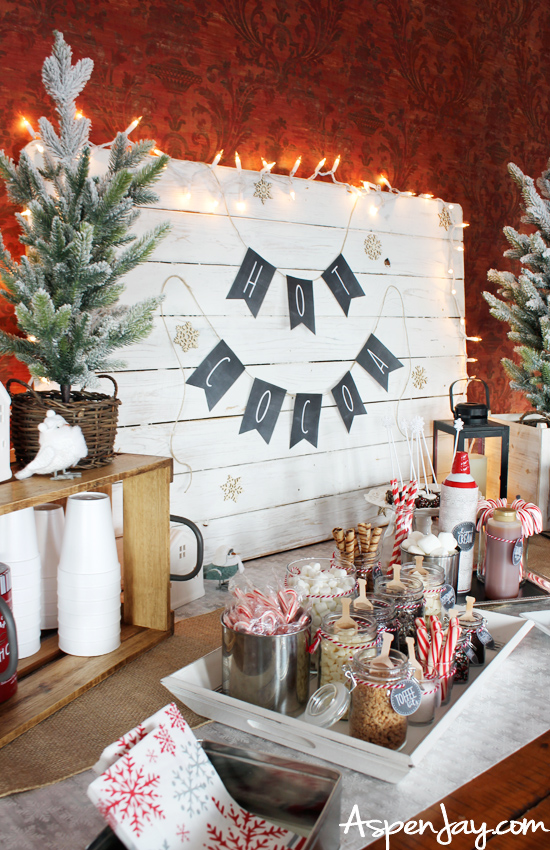
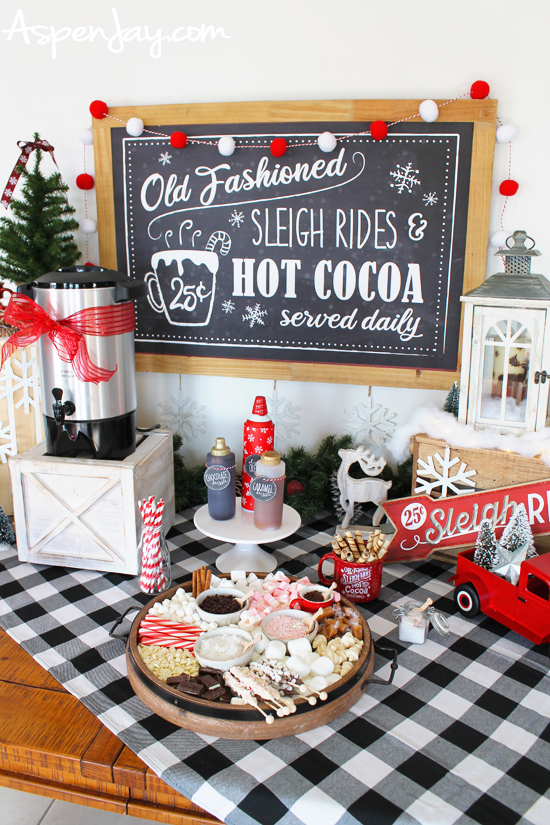
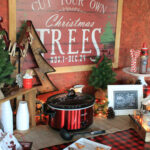
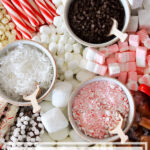
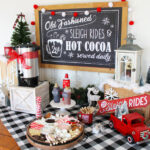
Just click on the images to see a few of our previous hot cocoa set ups!
Hot Chocolate Station is Perfect for Loads of Occasions
Setting up a hot chocolate station is great for any fall or winter event. You can create one for a baby shower, harvest party, birthday party, Christmas party, Valentine’s party, Bridal Shower, or a wedding reception. It’s always a crowd pleaser and it takes very little upkeep. Really it’s a no brainer for the host when it comes to deciding on a low key crowd pleaser!
And a hot chocolate station doesn’t have to be limited to an event! You could set one up at your home or work during the holidays to add a little Christmas cheer.
I know I say this every year, but this year’s setup was my ABSOLUTE FAVORITE! Our simple hot chocolate stand added such a fun, cozy feel to the room. It was an extra bonus that it didn’t take up any prime real estate in our house!
I loved it so much, that I left it up well past our party. In fact, I didn’t take it down until we were ready to put all of our Christmas decorations away!
How to Make a Hot Chocolate Station
Have I convinced you yet?! My guess is since you are still here, you’re all on board to set up a hot chocolate station.
But you may be asking well how do I make a hot chocolate station at home? Or work? I’m glad you asked! It really is quite simple with just a few things to keep in mind to make sure all runs smoothly!
1. Pick a Location for your Hot Chocolate Station
First, decide where you will be setting up your hot chocolate station. There are most likely many places where you could set one up, but it may boil down to what type of event you’re hosting. The kitchen is usually the location of choice but doesn’t have to be. Maybe consider having the hot chocolate set up right in the entryway to greet guests or serve it on a dining room buffet which will leave the kitchen counters free for appetizers or Christmas crafts. Or maybe use a bar cart to create a hot chocolate bar that you can move around and leave up for the entire holiday season!
Where ever you choose, just make sure it is easily accessible and not tucked away where your guests won’t see it. It may be helpful, depending on how you are serving your hot chocolate, to have a power outlet within reach.
Recreate the look:
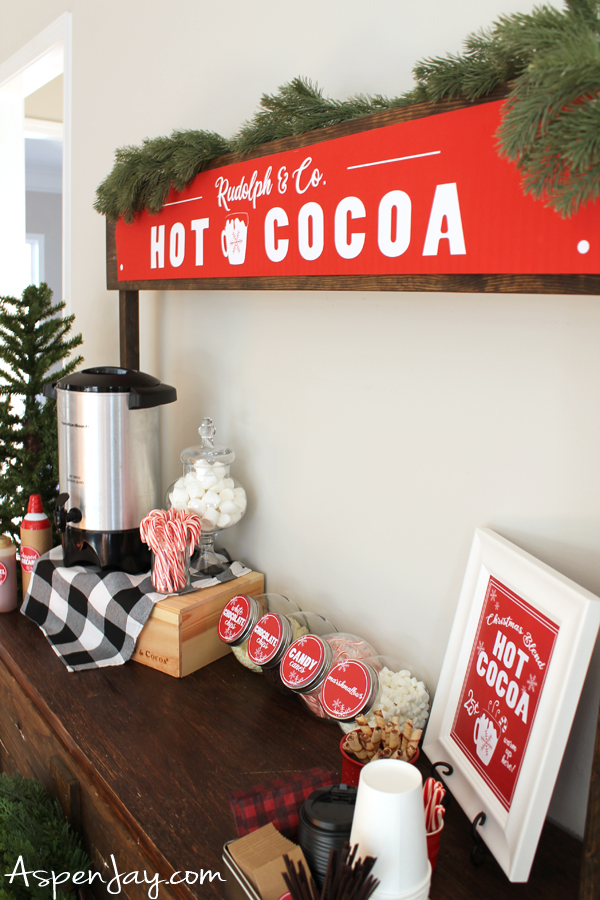
Our Simple DIY Hot Chocolate Stand
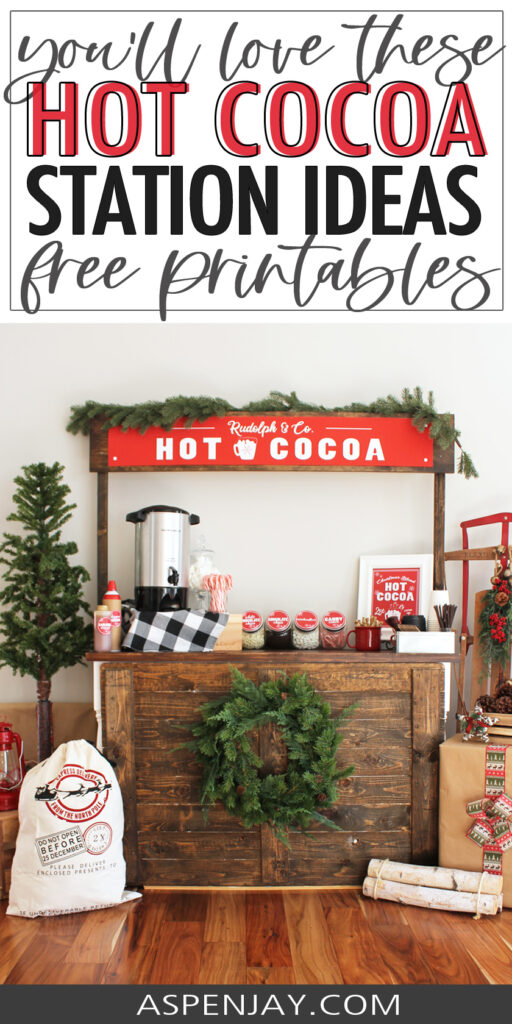
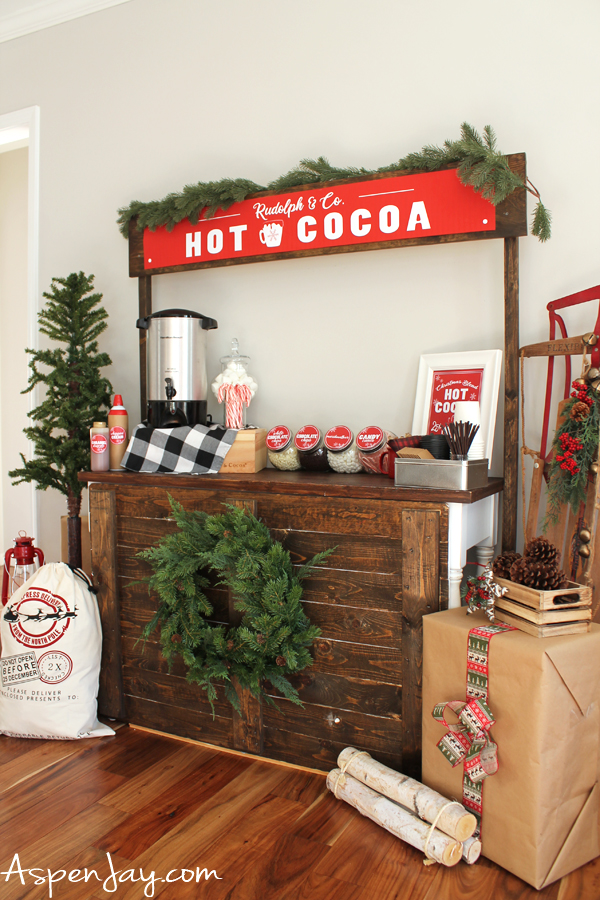
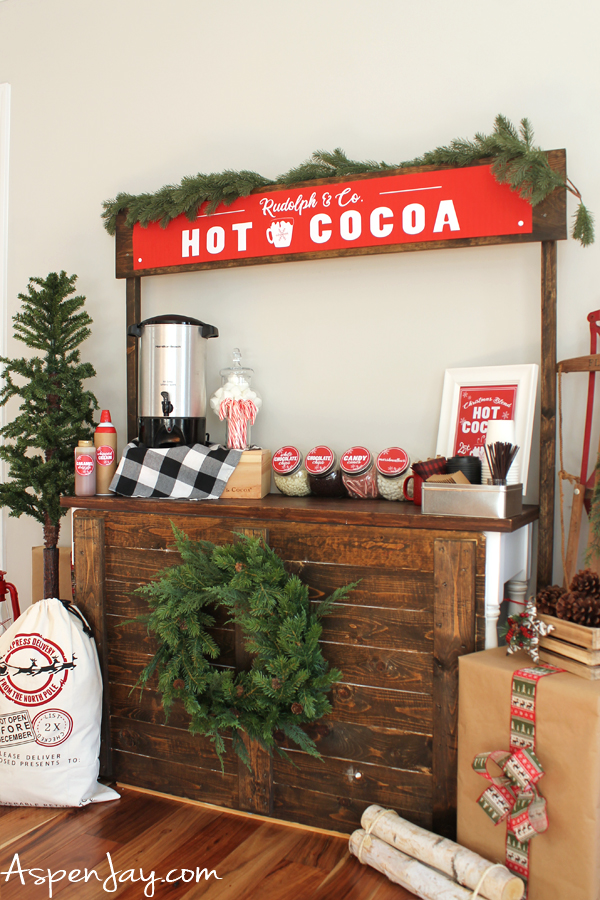
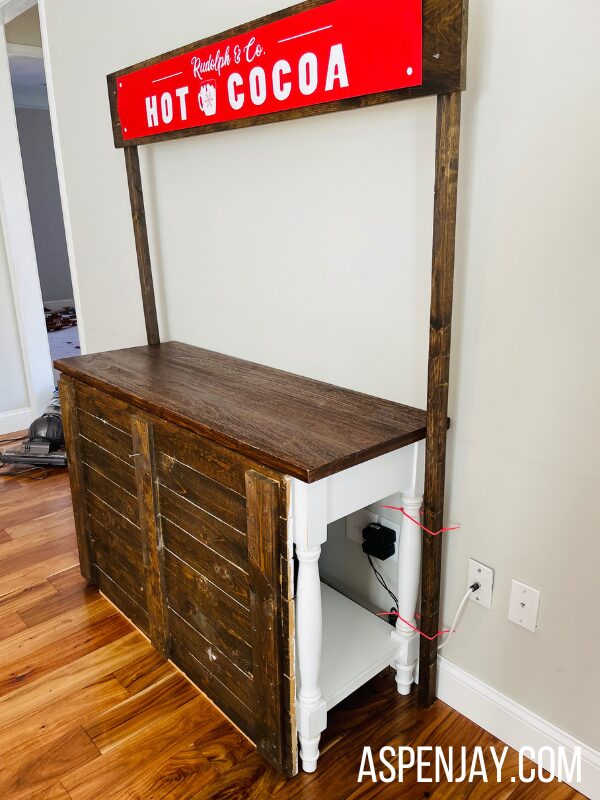
I couldn’t be more thrilled how fabulous our makeshift hot chocolate stand turned out! Don’t you just love it?! It wasn’t even that hard to put together.
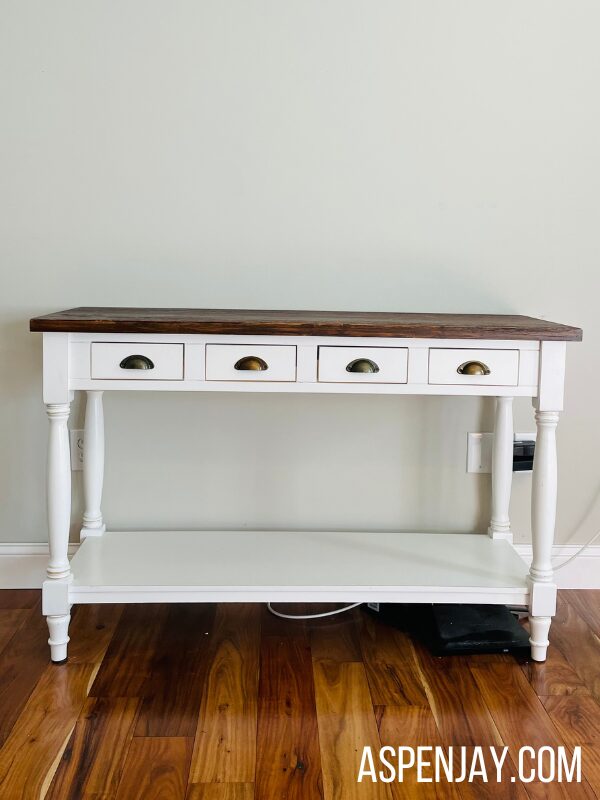
With our sofa table as the base, my husband just doctored it up with a few wood pieces to give it the look of an outdoor selling stand (we later used this for our lemonade stand!).
We repurposed a wood pallet (the same one we had previously used for the backdrop for our winter hot cocoa bar) that we stained dark brown to match the table top of the sofa table. We secured it with zip ties so that disassembly would be easy when we were finished with our hot cocoa stand. It wasn’t perfect in covering the white table legs, but it was close enough! He then bought some tow 2x2s and a 1×6 wood piece to construct the overhang.
2. Gather Basic Hot Chocolate Station Supplies
Now that you have your location for your hot chocolate station/bar/stand (whatever you want to call it!), it’s time to begin gathering the essential supplies to serve your hot chocolate.
How to Serve the Hot Chocolate
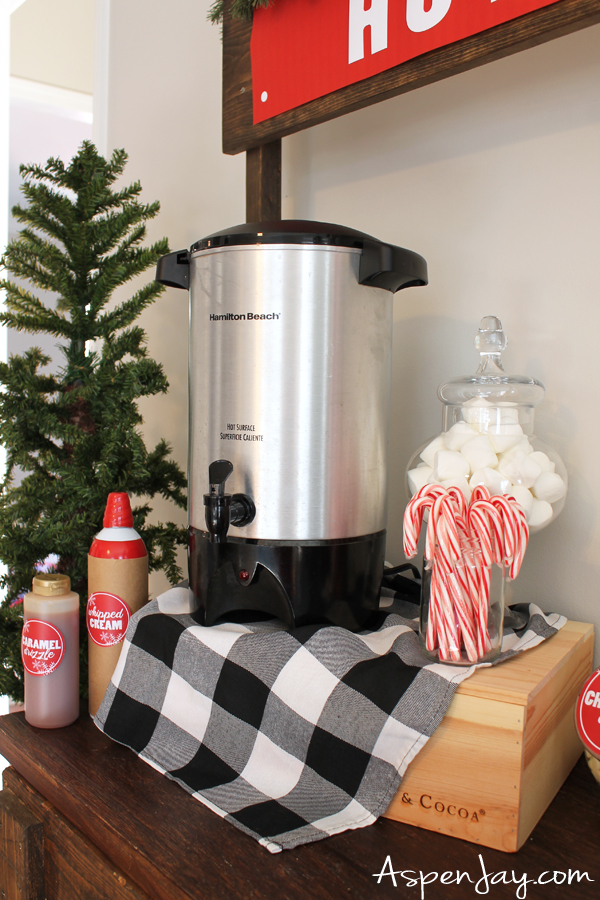
How do you keep hot cocoa warm for a party? There are several different ways to serve hot chocolate and the best method really depends on what you already have on hand. You could use a crockpot, instant pot, or just a big pot on the stove to keep a large batch of cocoa warm. Using a coffee urn is my personal favorite because I have found it is much cleaner than anything that requires a ladle! Just remember to place a bowl below the spigot to catch any drips. If you don’t have access to electricity, a thermal carafe is a great option too!
Recreate the look:
How to Drink It
How do you serve hot chocolate at an event? The two main options of choice to serve hot chocolate in are mugs or disposable cups. The occasion and the amount of people present will definitely play a factor in which one you choose.
If it is a small, more intimate affair, festive holiday mugs that relay whatever season it is, is the way to go. But if you are hosting quite a few guests and are not wanting to worry about washing 20+ mugs (not I!), the paper cups are the way to go!
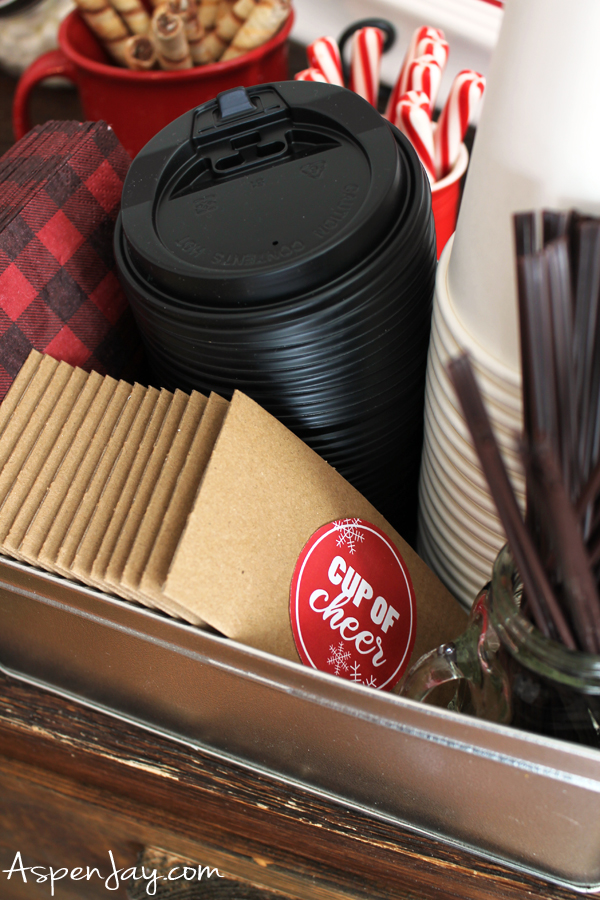
If your budget allows, I would definitely recommend the disposable coffee cups with lids and sleeves verses the plain old (oh how I HATE the noise) styrofoam cups. The benefit of using the disposable coffee cups are two fold: the utilitarian lids prevent spills and the whole ensemble helps your guests feel they just stopped in at their local Starbucks to warm up with a hot beverage!
Recreate the look:
Misc. Serving Equipment
To spice up your hot chocolate stand, you will definitely want to throw in some tasty toppings and delicious goodies! To serve these items, you’ll need to be sure to take in consideration the style or theme you are going for so that you can find serving bowls, spoons, dishes, etc. that help you capture that. Also keep in mind how well the items are stored in containers, if the hot chocolate station will be up for an extended amount of time.
Wood bowls add lovely rich color and a warm, inviting touch to any table setting, while cake stands serve as an easy way to group items elegantly and add a sense of height and presentation. Be sure to think of different colors, heights, and texture when considering items to create a visually appealing spread.
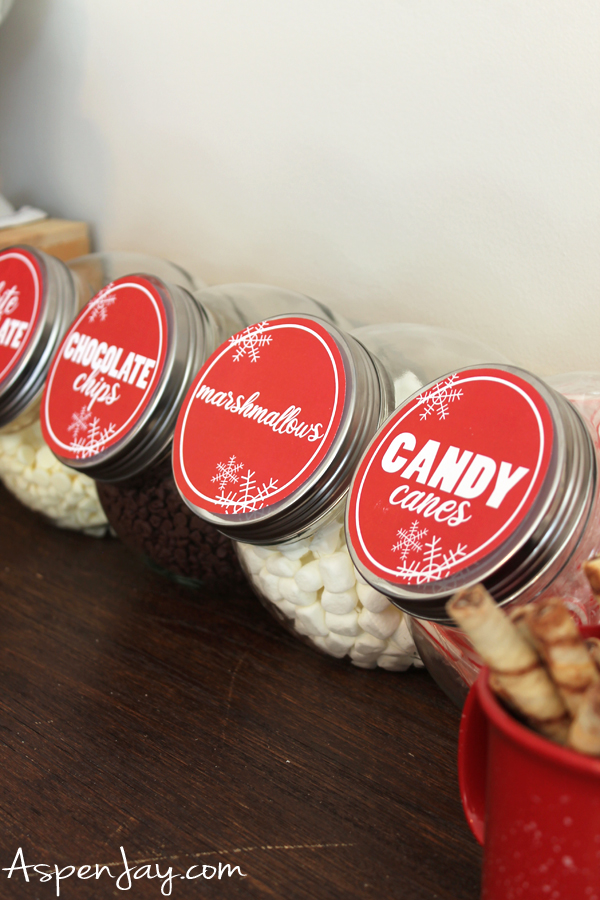
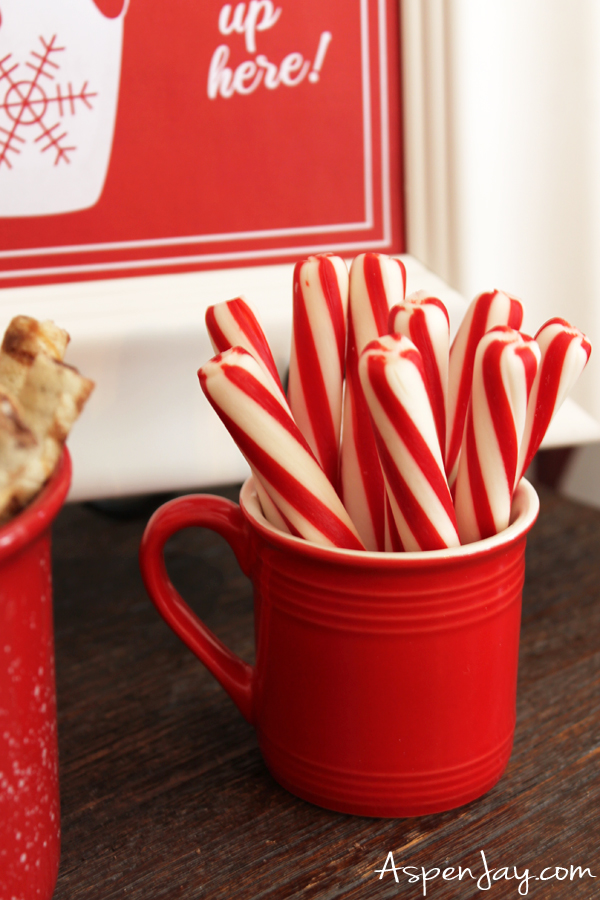
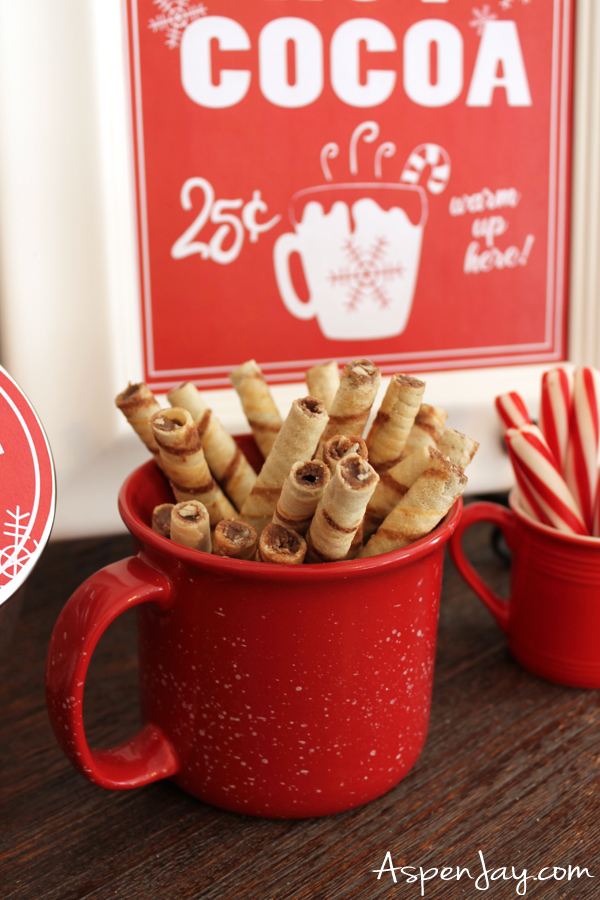
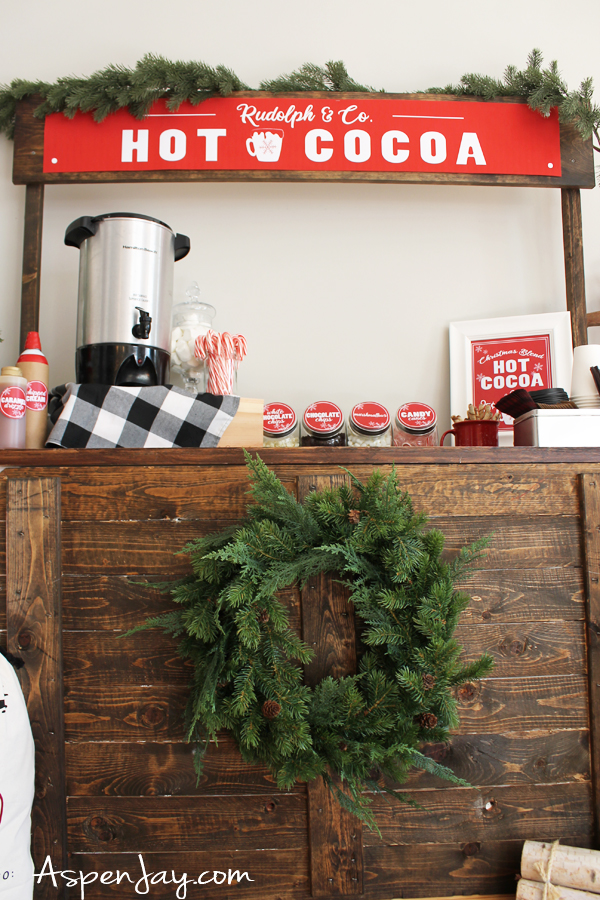
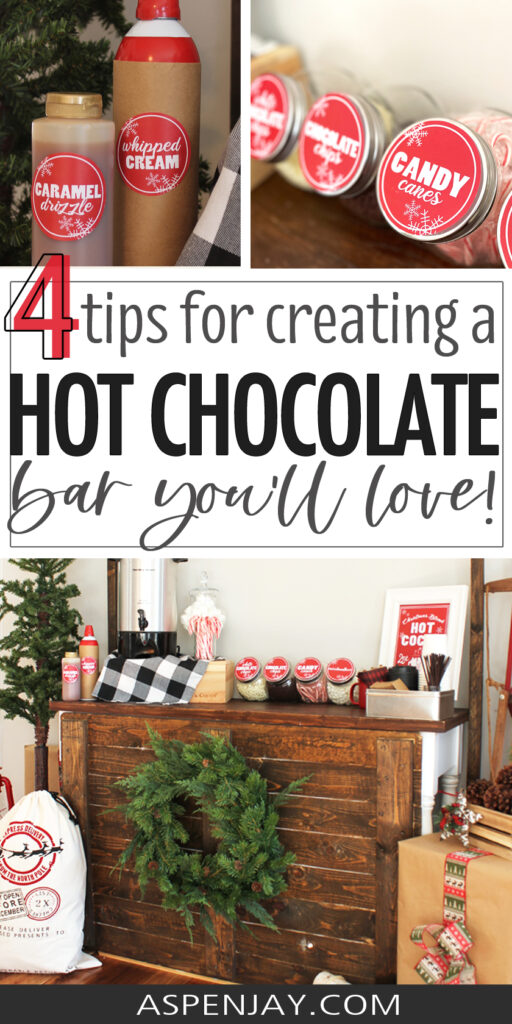
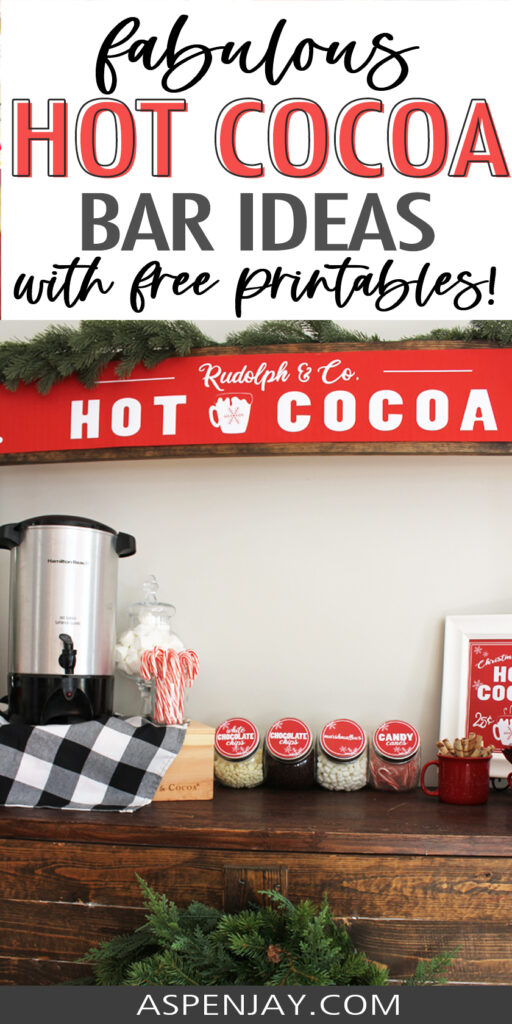
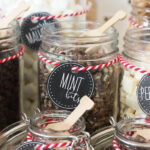
We used penny jars for four of our toppings and served the other two toppings in two different sized red mugs. For some added height, I placed a tall apothecary jar which held the large marshmallows alongside a clear glass container (that I had upcycled from an old candle) that displayed the candy canes on top of a wood box that was alongside the coffee urn. I incorporated some metal by grouping all of the disposable coffee cup essentials in a metal tin box (previously gifted to us with cookies inside).
3. Choose the Toppings & Hot Chocolate
What do you put on a hot chocolate station? The hot chocolate and whatever your taste buds desire! There are countless options when it comes to toppings and hot chocolate. Everything from your standard marshmallows to cayenne, or even peanut butter! I have yet to taste the latter.
I’ve offered as little as four hot chocolate toppings all the way up to 24 different toppings! I admit, I got a little carried away that year! For this year’s hot chocolate station, I tried to simplify my supply to the basic hot chocolate topping essentials, which I believe are:
- marshmallows
- mini marshmallows
- white chocolate chips
- mini chocolate chips
- candy canes
- soft candy cane sticks
- Pirouette cookies
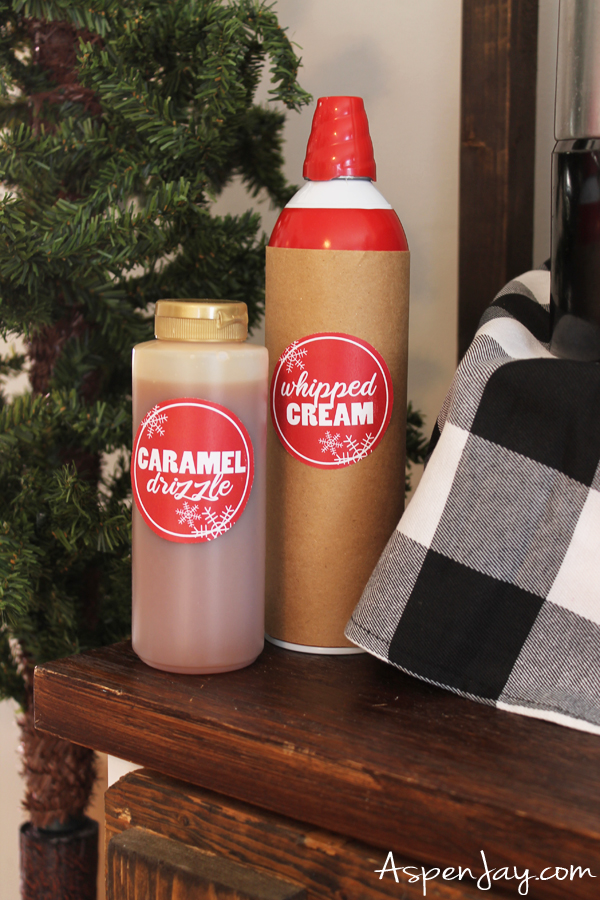
- whipped cream
- caramel sauce
There is just enough variety to help guests get the personalized favor they want without being too overwhelming (and costly to you)!

Recreate the look:
4. Style your Hot Chocolate Station
Now comes the most enjoyable part of all, the cherry on top, designing your hot chocolate station! This takes your hot chocolate station to party status!
Pick a Theme for your Station
Alright, so before you dive into decorating, the first thing you gotta do is pick a theme for your hot chocolate station. This helps give you direction in how you are going to style it. Whether you stick rigidly to that theme or follow it loosely, it doesn’t really matter! Just make sure you have some sort of plan.
As was mentioned earlier there are a myriad of occasions and events that a hot chocolate bar would be perfect for. Whatever event/occasion that is for you, let that give you a bit of direction on how you style your hot chocolate station. If you want to set up one during the fall months, be sure to have some warm undertones in your serving dishes and a few pumpkins on display. If the occasion is for Valentines, have loads of pink, red, and white colors and as many heart shaped dishes as you can get your hands on!
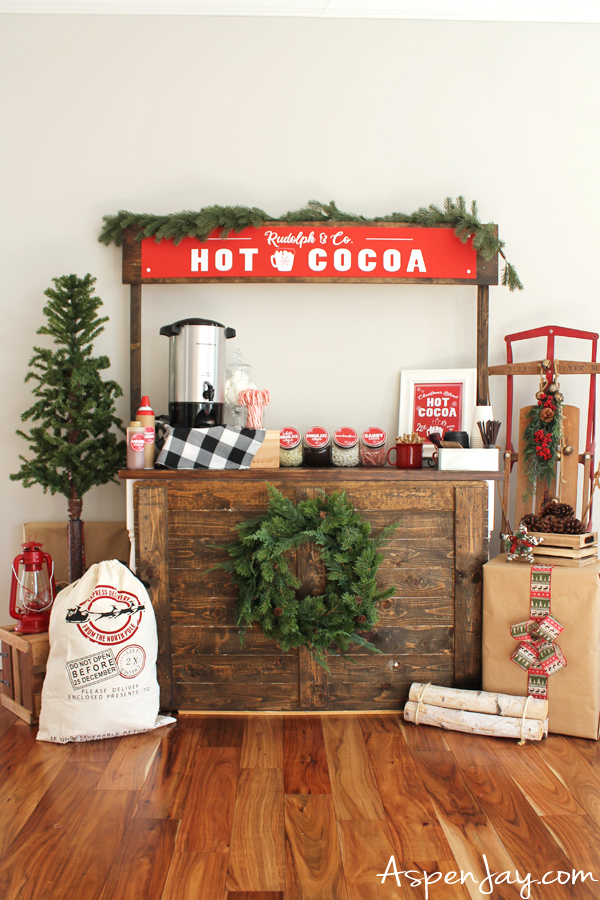
For this year’s hot chocolate station, I tried to go with the outdoorsy, Christmasy, rustic, lodge feel. As soon as I had decided on that theme, I was able to hit the ground running!
Match this Hot Chocolate Station look:
Props to Match the Theme
Before you head to the store, be sure to peruse through your home first. You may find a few or several items that would fit your theme perfectly, especially if you are creating this around the Christmas season when holiday decorations may be in abundance in your home. Gather everything and start putting it together, laying each item out so you can get a clear picture of what you already have.
Only then should you start making your list of additional items you might need to complete the look. That way when you head to the store you know what you are looking for and will then avoid any unnecessary purchases.
I was ecstatic that I finally got to put that iconic red flexible flyer sled, that one the sellers of our last house left, to good use! Isn’t it just perfect?! Wrapping up a few boxes in brown kraft paper and tying them up with a Christmasy ribbon also added to the whole esthetic in a big way at such a little cost!
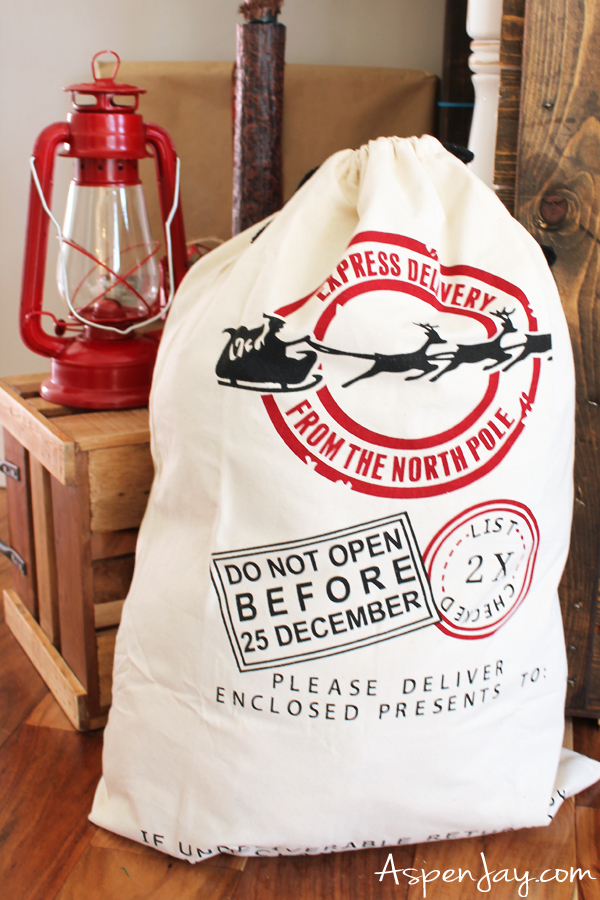
I did end up purchasing a few things that I thought really helped compliment my outdoorsy feel, like the beautiful white birch logs and adorable red lantern.
Recreate the look:
Instantly Dress Up with Printables
Adding a few signs and labels is the easiest way to quickly take your hot chocolate station to the next level! Printables can easily fill in any gaps you might have in your hot chocolate station display and they are so inexpensive, if not free! This doesn’t mean you need to go overboard to label every single item. Simply adding a few touches here and there can really make a difference!
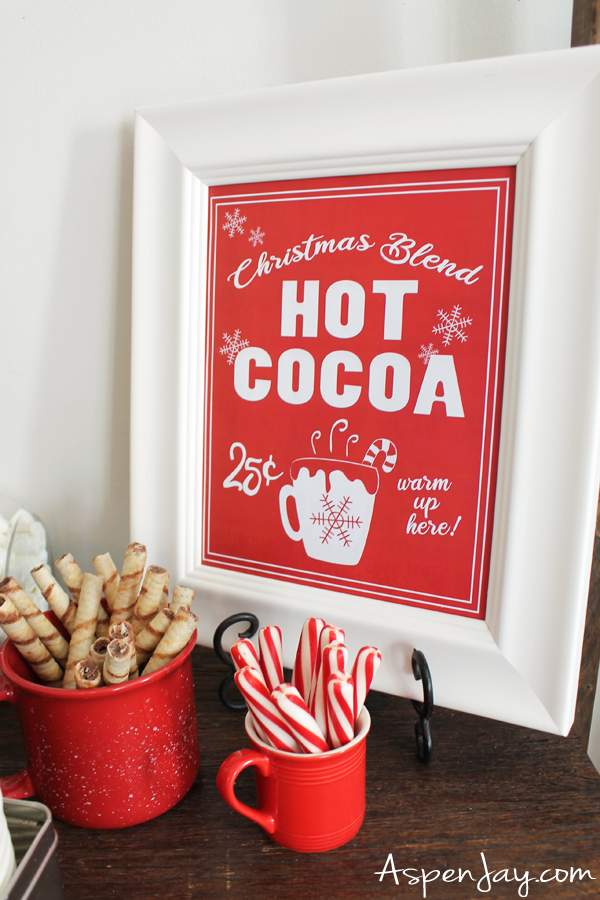
I designed chalkboard hot chocolate labels that are super cute that I could have used but the station seemed to be begging for a pop of color. So feeling a bit of the creative bug, I decided to design a new line of hot chocolate printables that I absolutely love! The red in the labels really helped the signs stand out and add a little warmth to the overall set up.
Of course, ya’ll know that I will be sharing them with you! You can grab the hot chocolate station printables at the below, so keep scrolling!
Free Printable Hot Chocolate Station Labels
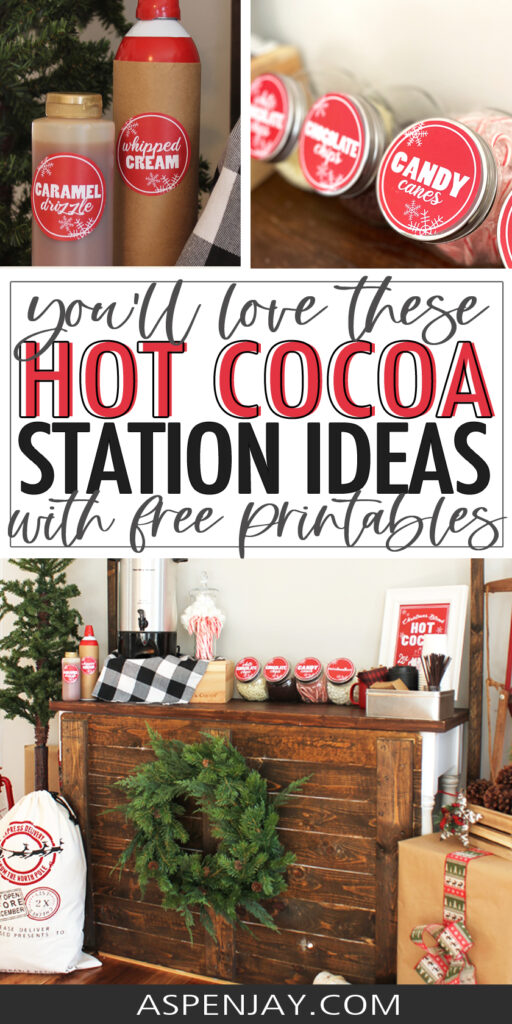
For the printables labels, I have the four labels that were on the penny jars (“white chocolate chips”, “chocolate chips”, “marshmallows”, and “candy canes”) and the two labels that were on the whipped cream and caramel sauce. Also on that page is the “cup of cheer” label. Hmm… maybe I should have done one sheet of just “cup of cheer” labels. Well, let me know if you want me to do that and I will update the file!
The second page of the pdf will have the “Christmas Blend Hot Cocoa” sign that is sized as an 8×10 inch print.
To download your hot chocolate labels, just click on the link below. Then head over to your downloads folder on your computer. The labels will be in a zip folder, so double click on the file to open it. For the best finish, I recommend printing the labels on cardstock, but regular printer paper will work in a pinch too!
< Click HERE to download your printable Hot Chocolate Station Labels >
This design is for PERSONAL USE ONLY. You may not forward, share, sell or re-distribute the file. Ownership and copyright over all designs & graphics contained in the files are property of AspenJay.
Did you gain a few Hot Chocolate Station Ideas?
Hopefully you were able to glean inspiration from our hot chocolate bar setup and it helped you get over any hurtles that may be stopping you from creating your own this year. They really are so much fun to make, guests LOVE them, and with these free printables, it couldn’t be easier!
What traditions do you enjoy sharing with your friends and family each year? I’m always looking to start new fabulous ones, so let me know in the comments below!
Did you find this post helpful? Then be sure to save A PIN to your CHRISTMAS BOARD!






Leave a Reply