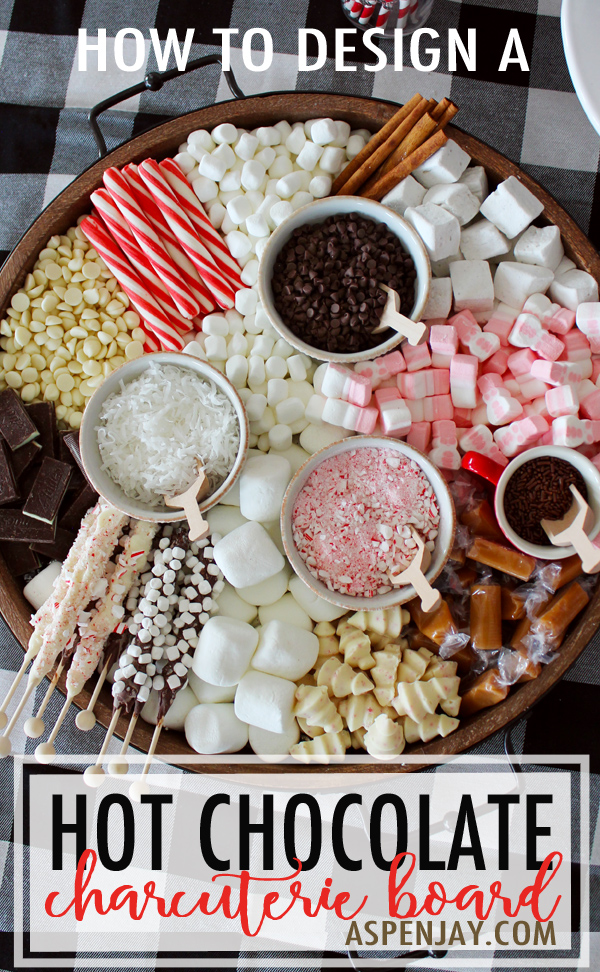
Wow your party guests this year by designing a hot chocolate charcuterie board for your hot cocoa bar! These helpful tips will show you how simple it is to make!
This post may contain affiliate links at no extra cost to you.
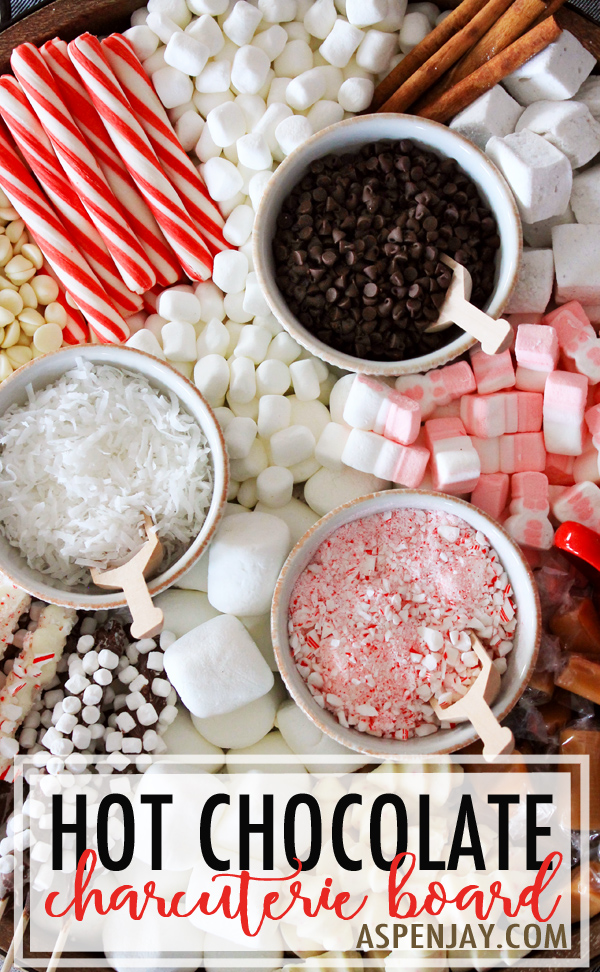
Can you believe the holidays are already underway?! Really where has the time gone? For me, along with all the other holiday fun (and stress!), this means prepping for our annual Caroling, Cocoa, and Cookies party.
For this event, we recruit our friends to come carol with us to our neighbors. Afterward, we warm up at our hot cocoa bar and munch on delicious holiday cookies.
This being our 5th year of creating a cocoa bar, I was hankering to mix things up a bit with the toppings.
This year I decided to create a hot chocolate charcuterie board.
The result = deliciously gorgeous!
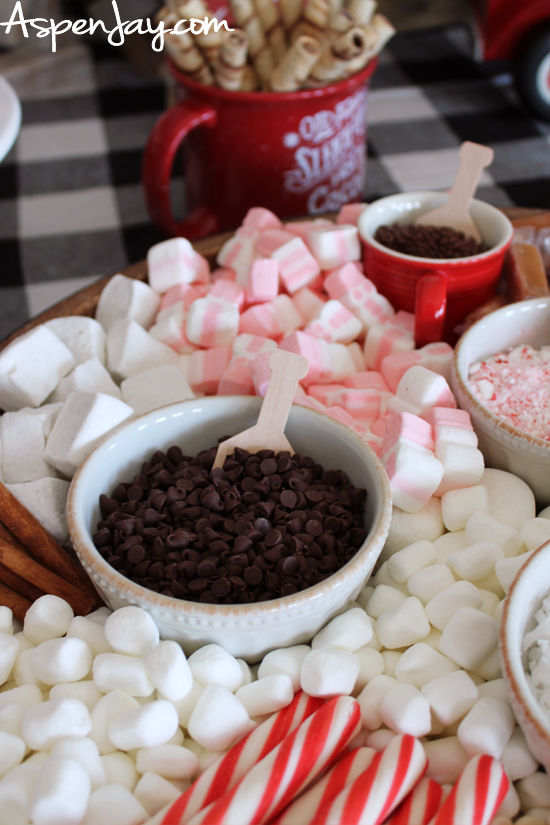
Why create a Hot Chocolate Charcuterie Board?
Okay, so technically a charcuterie means “cold cooked meats”. So a charcuterie board would have a variety of meats and complimentary foods to go along with your meats (cheeses, crackers, fruit, etc.) arrayed on a big board with no separators but the food themselves. This boards can be downright gorgeous! They take your lunch meat to a whole new level!
So this idea of displaying everything on a large board, seemed like it could also work well with other things, like hot chocolate toppings! In years previous, I had showcased the toppings in separate containers (as seen here and is still super cute!), but thought it might be fun to change things up by creating a hot chocolate charcuterie board or hot chocolate toppings board.
And I couldn’t be happier with the results! All the pretty colors and textures complimented each other perfectly. If you feel like impressing your guests this year, you’ll definitely want to follow along to construct your own hot chocolate toppings board!
Be sure to check out our entire hot chocolate bar spread to gather even more ideas!
5 Steps for Designing a Hot Chocolate Charcuterie Board
How do you make a hot chocolate charcuterie board? It may look like everything is simply thrown together, but I assure you that is definitely not the case! There was some serious thought and prep beforehand on the placement of each and every topping. So be sure to follow along with these 5 helpful steps that will get your hot chocolate charcuterie board looking absolutely perfect!
1. Gather Serving Dishes
First things first, you’ll need something to serve everything on. You can use a designated charcuterie board or a large platter or tray will work just fine. Take in account the color you are going for and your overall theme when choosing your dishes. For example, if you are putting a Grinch themed hot chocolate board, you may not want to go with the same board as if you were going with a more rustic ski theme.
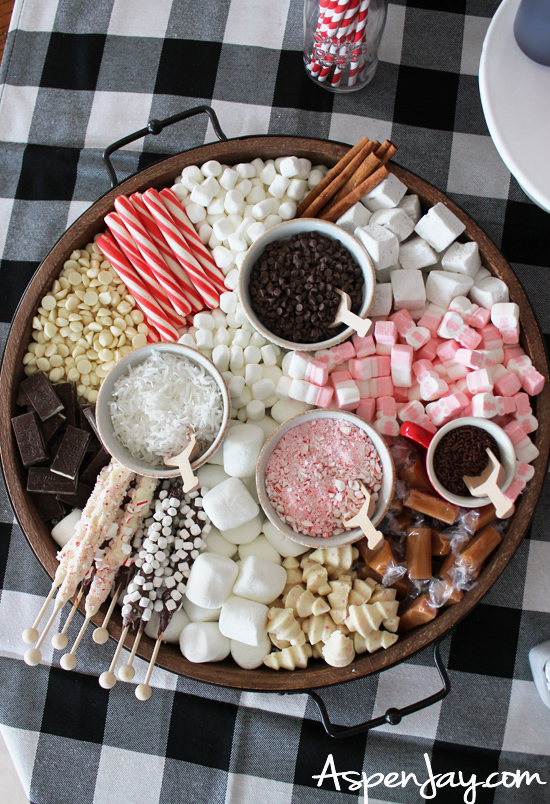
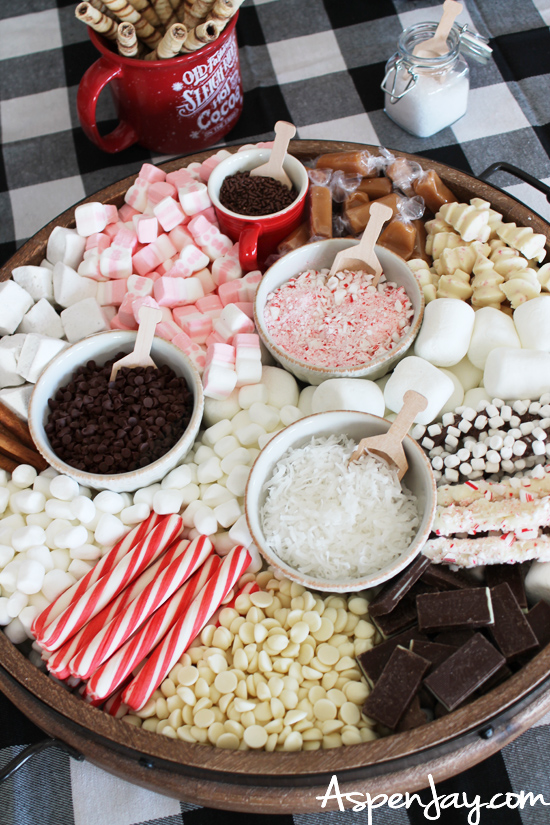
Our Hot Chocolate Bar was a more rustic, old fashioned Christmasy theme, so I went with a round wood serving tray that I absolutely LOVE! I liked it because it was round and had a nice edge to contain everything.
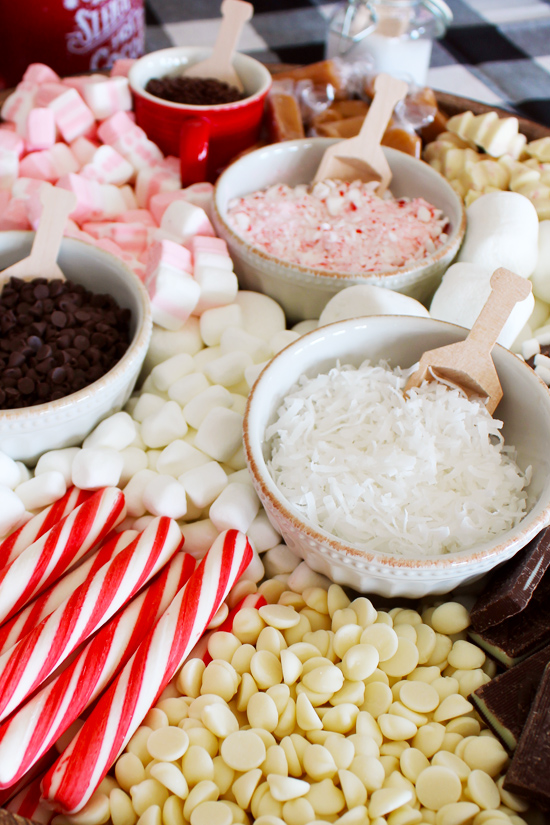
A few serving dishes placed strategically on your charcuterie board really helps aesthetics and is definitely needed for those smaller toppings. I used these adorable little white bowls and a mini red mug and then served the toppings using mini wood scoops.
Match the look!
2. Buy Hot Chocolate Board Toppings
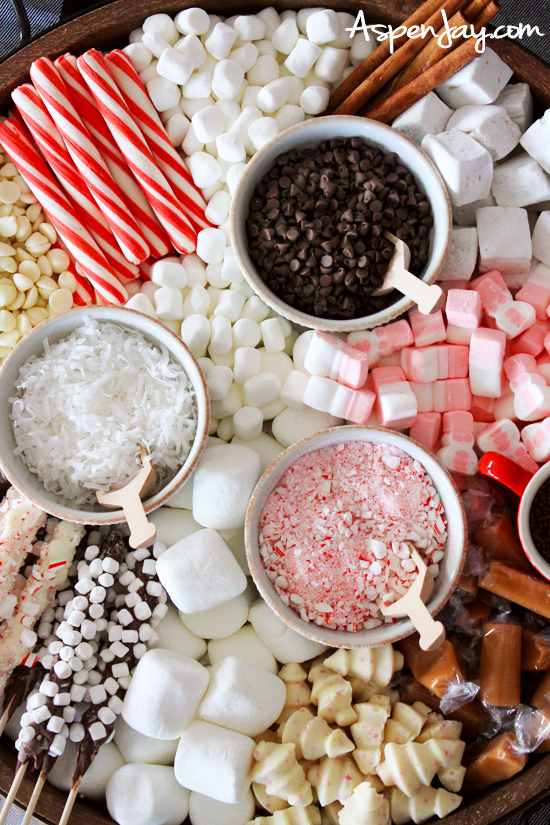
What do you put on a hot cocoa board? Really the sky is the limit with toppings! My rule of thumb is it if sounds like it would be tasty in a cup of hot cocoa, buy it! I also always shop for a variety of tastes as well as color. Here is a list of the ones that I used:
– peppermint chips (shaped/melted into trees using an ice cube tray)
– Andes mints
– mini chocolate chips
– white chocolate chips
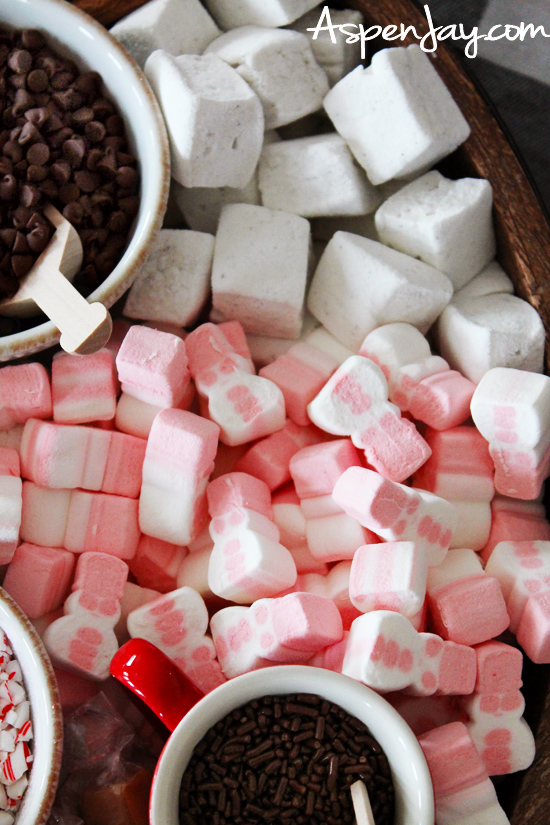
– snowman marshmallows (similar ones)(the kids loved these!)
– marshmallows
– mini marshmallows
– vanilla bean marshmallows
– sweetened coconut flakes
– crushed candy canes
– soft peppermint sticks
– Sea Salt Caramels (these are divine!)
– cinnamon sticks
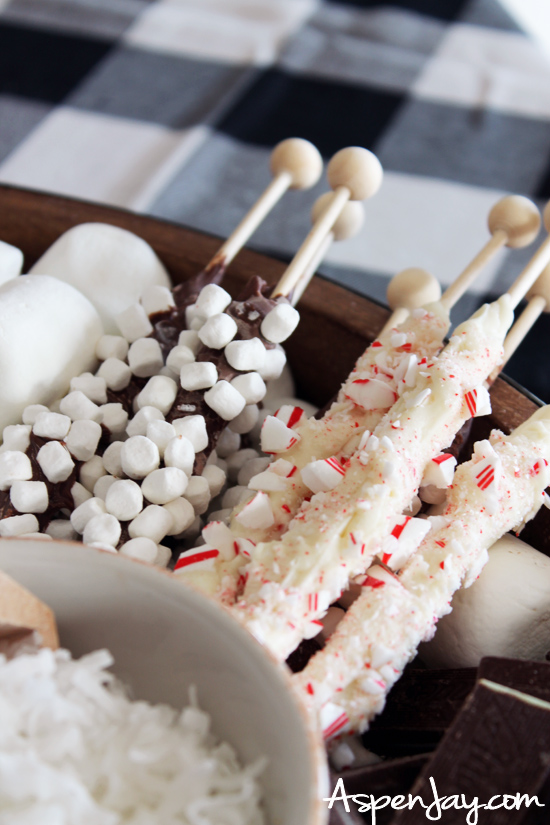
– chocolate stir sticks (learn how to make your own!)
– chocolate sprinkles
Also included but didn’t make it on the charcuterie board:
– Pirouette Cookies
– coarse sea salt (serving in this container)
– caramel sauce
– chocolate sauce
– whipped cream
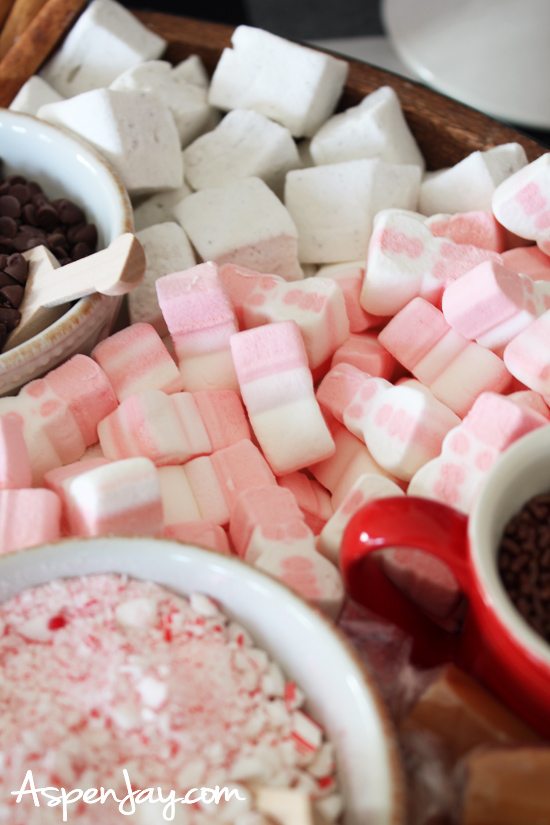
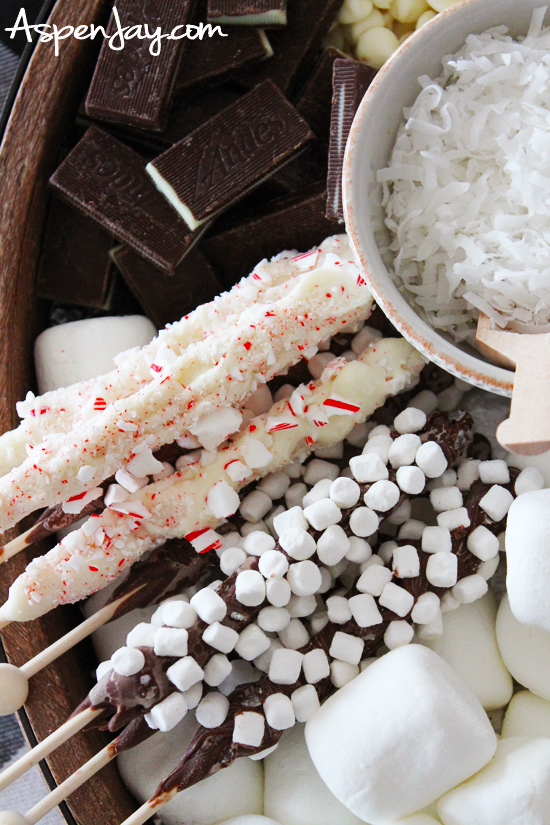
–> Learn how to make the hot chocolate stir sticks here. It’s so easy to do!
3. Map Out your Hot Chocolate Board
After gathering all of the toppings, I then mapped out on the charcuterie board where each one would be. You’ll want to grab just a plain white sheet of paper for this part!
To make the board visually appealing, I tried to get as much contrast as possible. So I took into consideration size, color, and texture. For example, I wouldn’t have all all the marshmallows right next to each other nor all my browns (chocolates, caramels, cinnamon sticks) touching.
I wrote each of the hot chocolate board toppings on a piece of paper, then cut them into strips (so one topping was written on each strip of paper), then began arranging them where on the charcuterie board.
4. Assemble your Charcuterie Board
After getting a general idea of the placement, I then opened up all my packages and piled them in their designated positions.
This is SOOO important to do well in advance of guests arriving! Because yes you mapped it out beforehand, but with all rough drafts, there are usually some adjustments that need to be addressed before the final product is ready.
I had to make a few revisions to my hot chocolate charcuterie board after creating it. For example, I noticed that my stir sticks weren’t filling in their designated space well so a lot of the board could be seen. Consequently, I decided to move the larger marshmallows next to them. This way I was able to fill in the empty space underneath the chocolate stir sticks from the overflow of the marshmallows.
Okay now that you have everything placed just right, cover up those toppings to keep them fresh for the party.
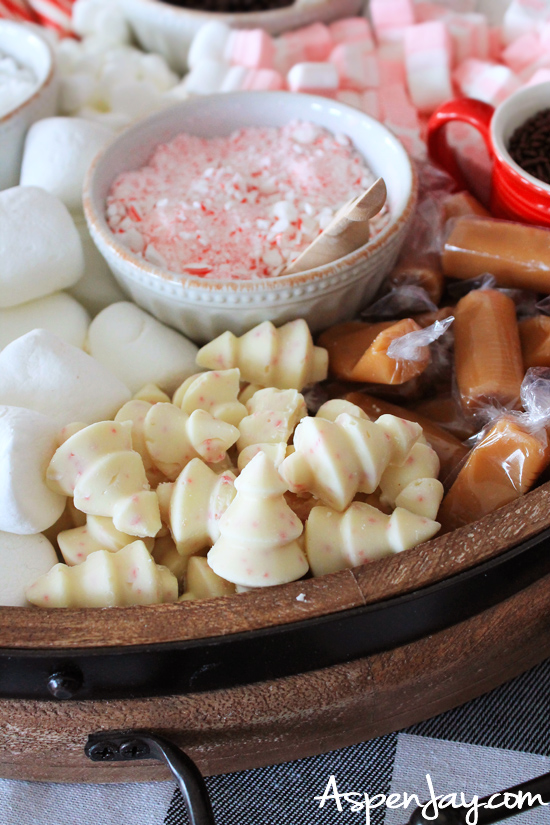
Sit back and relax while your guests help themselves to a cup of hot cocoa and indulge in a beautiful assortment of savory toppings!
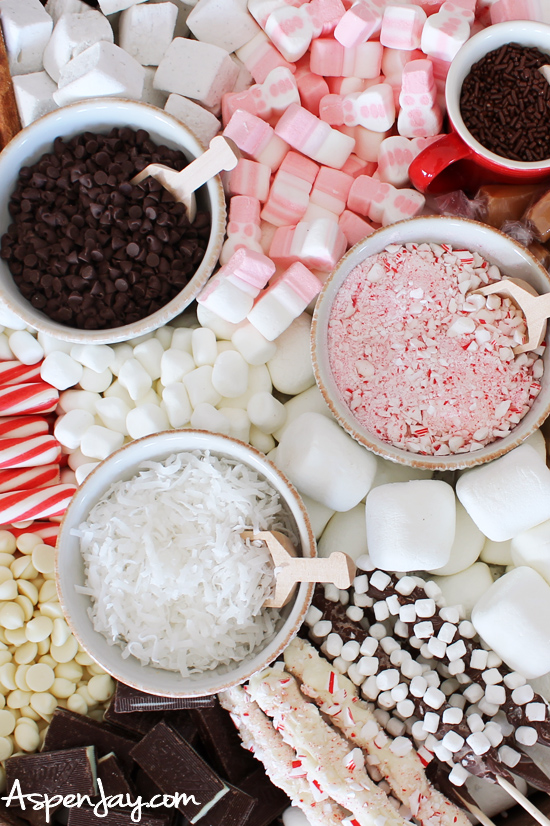
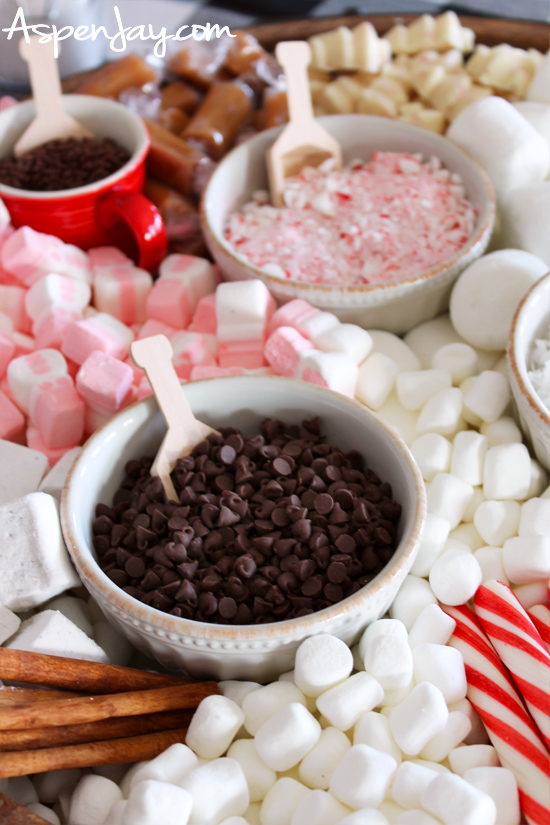
Don’t forget your free Hot Cocoa labels!
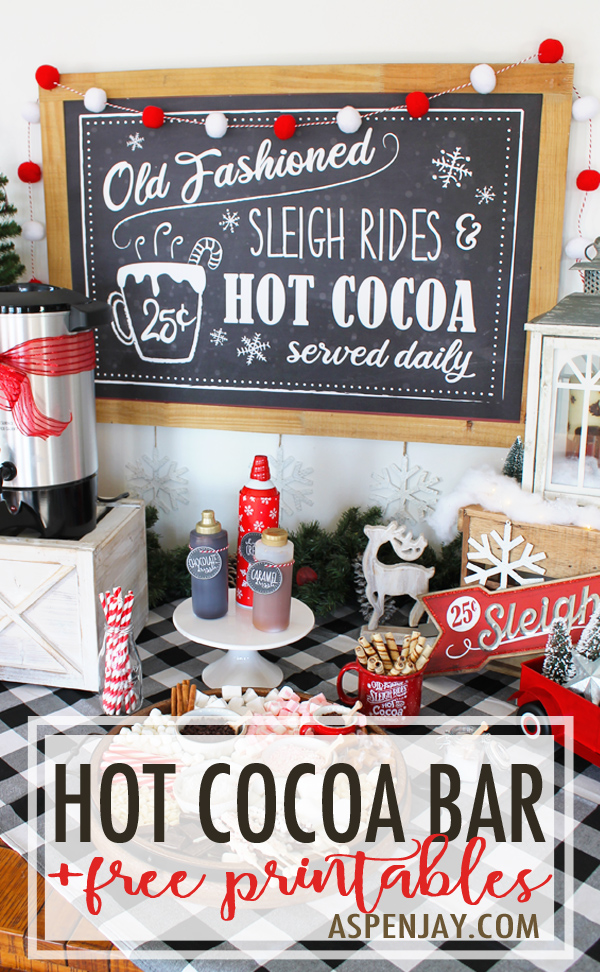
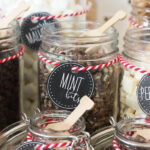
As I mentioned there were a few toppings that didn’t make it onto the charcuterie board, like the whipped cream and the chocolate and caramel sauces. Instead I set them up on a cake stand and dressed them up with my (free) printable hot cocoa bar labels along with some twine and Christmas wrapping paper.
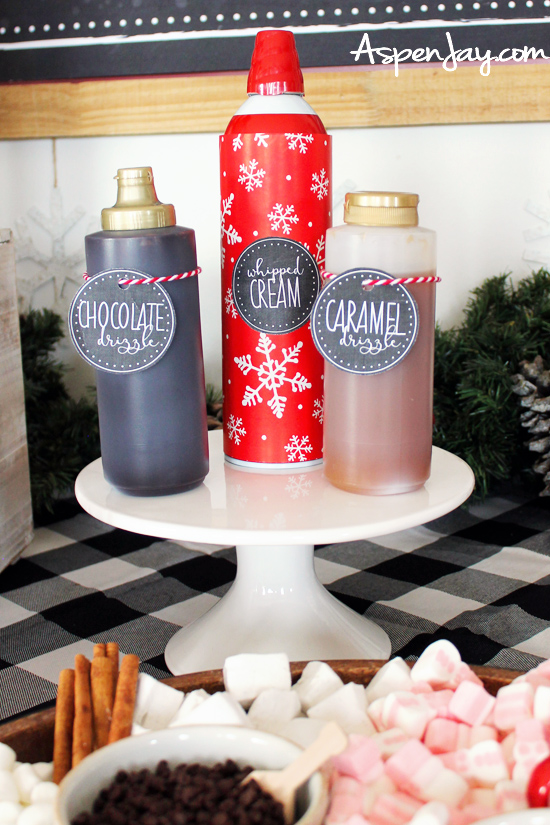
These mini wood scoops were perfect to scoop out the smaller toppings.
Will you be creating a hot chocolate charcuterie board for the holidays?
Be sure to tag me @_AspenJay so I can see how your hot cocoa toppings board turned out! I can’t wait!
Did you find this post helpful? Then be sure to save this PIN to your Christmas or Winter themed board!
Be sure to check out the whole DIY Chocolate Bar here!
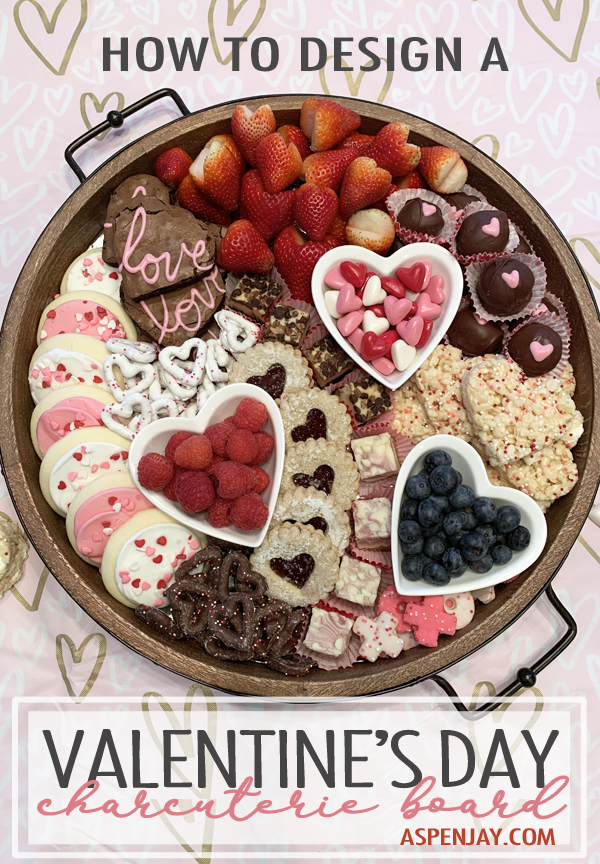
How about a Valentine’s Charcuterie Dessert Board?!


Where did you find the wooden stir sticks with the white balls on top?
I love them and can’t find them anywhere. Thanks in Advance.
I updated the post with the link to the stir sticks!
Where did you get those adorable mini snowman marshmallows and the little trees?
Hi Barb! I happened upon the snowman marshmallows at the grocery store one year. Be sure to check out the link above for something similar with added shapes. For the little peppermint trees, I purchased Andes peppermint chips and then used a mini tree mold I had to form the peppermint chips into trees. It actually didn’t take too long to make those.
How Fun is this. We’ll be sharing this out for you on our social media channels.