Great festive ideas and tips for your DIY hot chocolate bar this Christmas. Including free printables and a hot cocoa topping charcuterie board that is to die for!
Post contains helpful affiliate links at no extra cost to you.
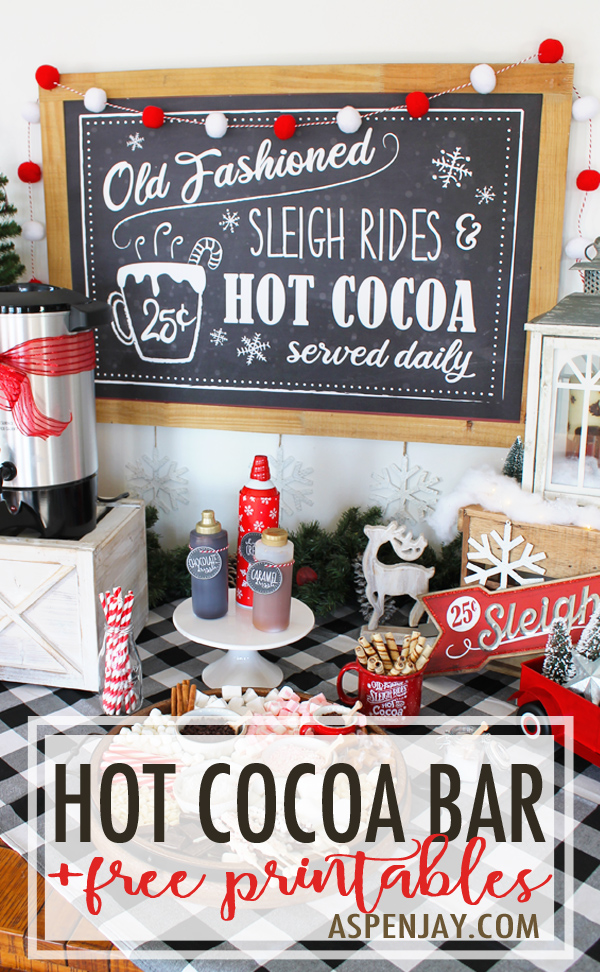
Hello fellow hot chocolate lovers!
Nothing beats a warm cup of hot chocolate on a cold day especially during the Christmas holidays! Except for maybe setting up a fabulous hot cocoa bar that is festively decorated and filled with LOTS of toppings that you can share with friends and family.
Basically have a Christmas party all around that cup of hot cocoa!
It’s seriously the easiest party EVER to decorate for! My guess is you already have the house decked out in holiday tinsel and ribbon, am I right?!
So you have all your decorations, now you just need to worry about how to make your hot chocolate bar. It’s super easy and fun to design! I wanted to share pics from my most recent hot chocolate bar and give 5 helpful tip on how to create your own DIY hot chocolate bar for Christmas this year.
5 DIY Hot Chocolate Bar Tips to Make it Perfect!
1. Pick a Theme
I like to have a theme to my hot cocoa bar that ties everything together. Yes it’s Christmas time, so you can just go with that. Or you can get more specific like throwing a winter themed hot cocoa bar or a buffalo plaid themed cocoa bar. Really deciding on a theme is probably the hardest part for me. After I have my theme, I can run with it!
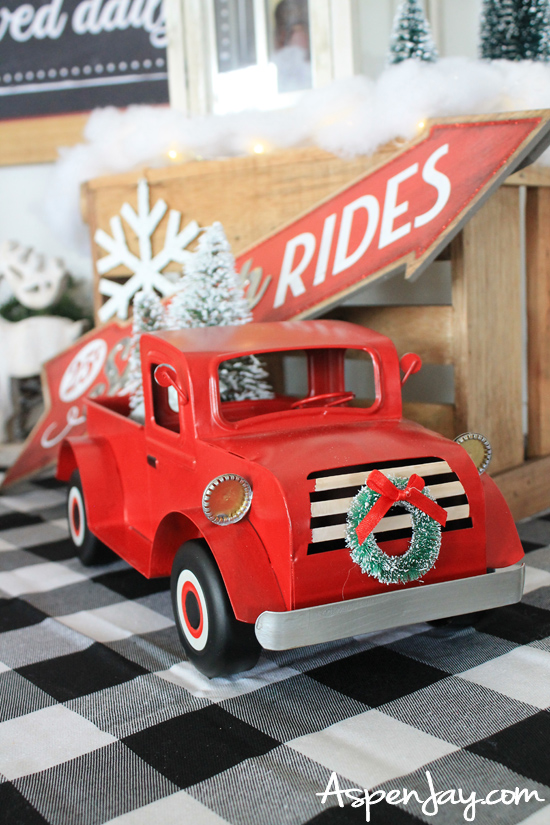
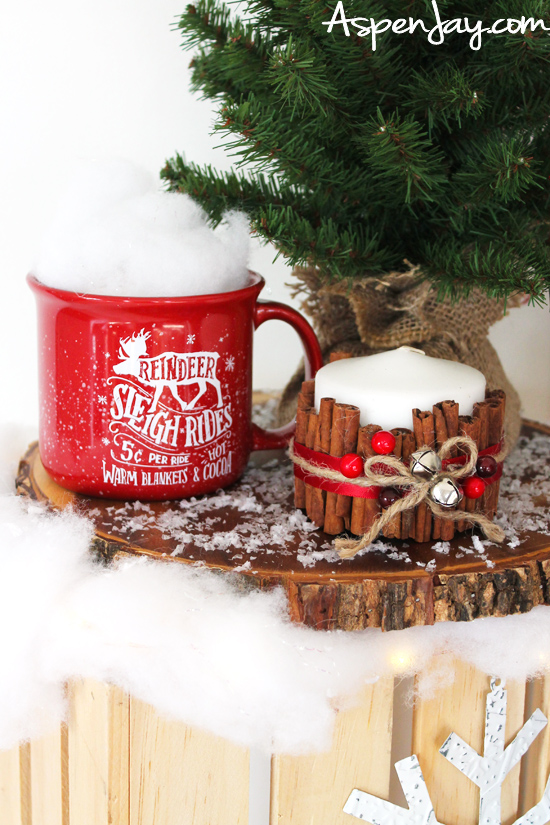
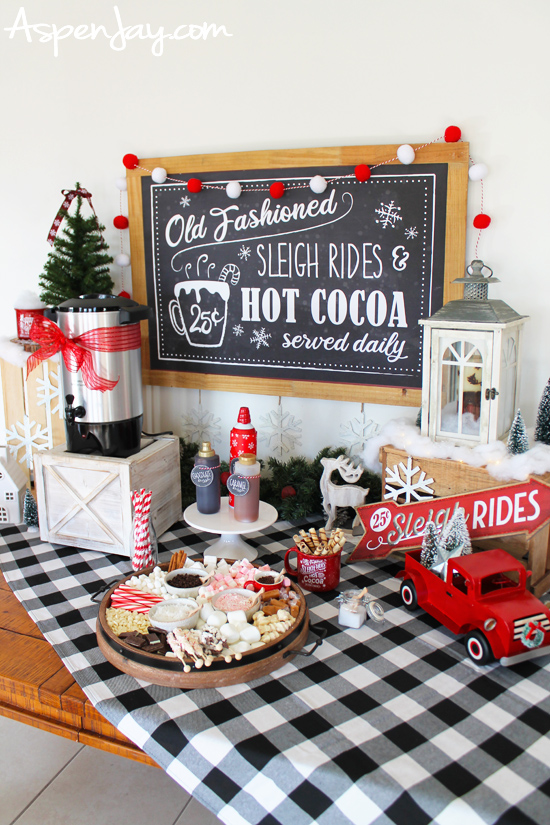
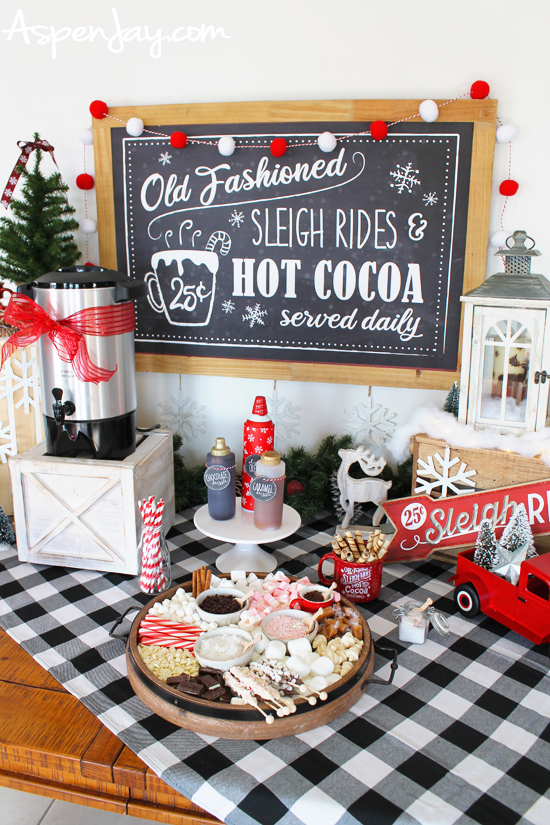
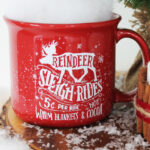
My inspiration for this year came from a pair of red sleigh-ride themed mugs that I found in a holiday ad. It was LOVE at first sight! Those mugs were quickly purchased and gave me the theme, a rustic old-fashioned Christmas, I needed to get started.
Recreate the look:
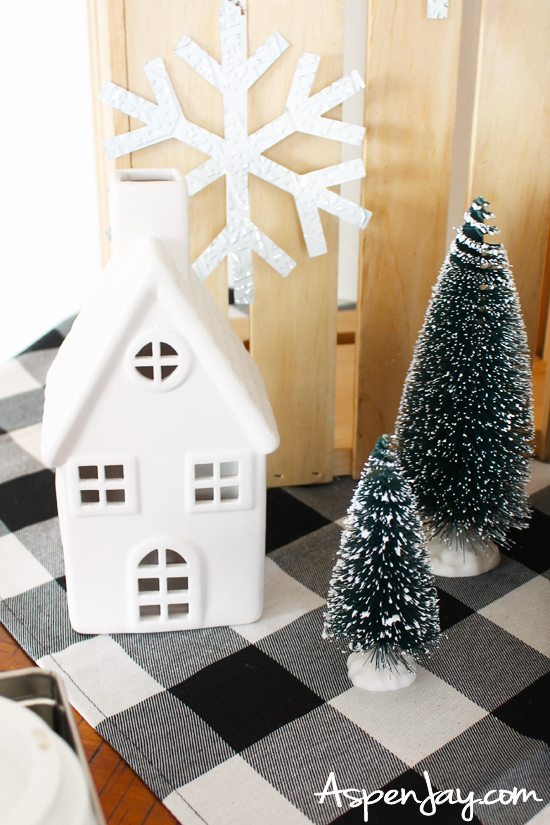
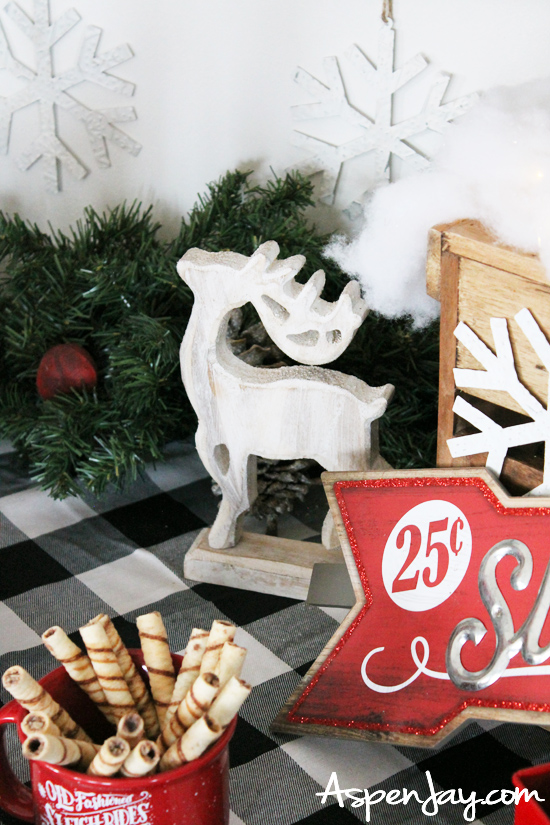
I went through my own decor for items that would go with the theme (like the white village houses I found last year). Then perused store’s holiday aisles for any added spark of inspiration.
I found some gorgeous metal snowflakes, a lovely white lantern, and what pulled it all together was the gingham black and white tablecloth! I had another tablecloth picked out that I really liked. But when I put it on the table with everything, it just didn’t look right. So I decided to swap it out for the white/black, and the whole table just came together.
Recreate the look:
It was really magical. 🙂
Recreate the look:
2. Add some Hot Chocolate Bar Signage
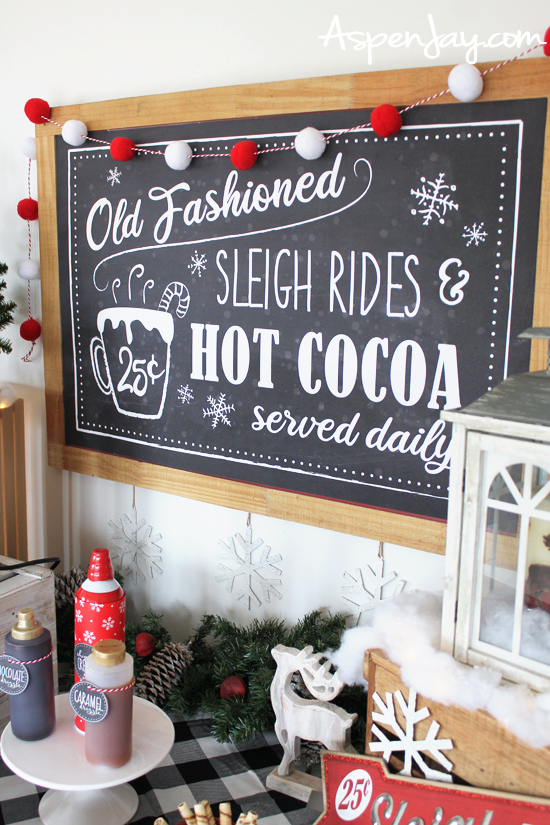
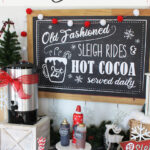
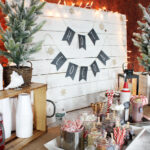
The table was lacking a backdrop, so I whipped up this Old-Fashioned Sleigh Rides & Hot Cocoa sign and had it printed on a large piece of cardboard. It cost me $50 to print. Yikes!!! It was a lot more than I would like to spend on a backdrop.
Since then, I have learned a $45 dollar savings tip when I had a similar size poster printed for a football baby shower I hosted.
The tip is to get it printed on engineer/blueprint paper. It only cost around $5! A big difference in price! Granted it is on flimsier paper, and it’s in black and white but since I just had it up on a wall, I didn’t need anything fancy.
When my football scoreboard was in the frame or my expensive hot cocoa sign, you really couldn’t tell a big difference in printing quality (well not $45 dollars worth anyways).
>> You can grab the Old-Fashioned Sleigh Rides & Hot Cocoa sign in my shop! Use the code PARTYTRIBE to receive 15% off!
Recreate the look:
3. Choose your Hot Chocolate Bar Toppings
What should be on a hot chocolate bar? Aside from the hot cocoa, it’s all in the toppings! The cocoa toppings are really what takes a cup of hot chocolate to the next level! A variety of toppings can make for endless possibilities of hot cocoa flavors that will please even the pickiest of tastebuds.
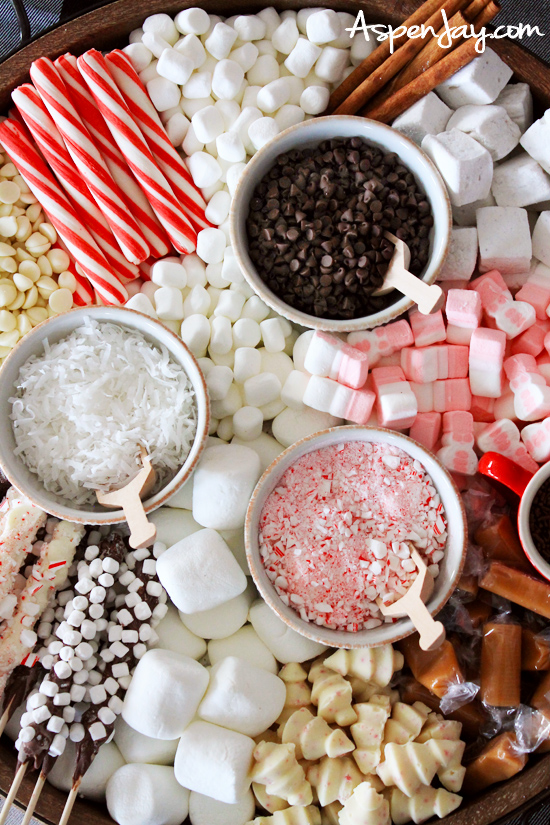
Here is a list of the toppings we used:
– peppermint chips (shaped/melted into trees using an ice cube tray)
– Andes mints
– mini chocolate chips
– white chocolate chips
– snowman marshmallows (similar ones)(the kids loved these!)
– marshmallows
– mini marshmallows
– vanilla bean marshmallows
– sweetened coconut flakes
– crushed candy canes
– soft peppermint sticks
– Sea Salt Caramels (these are divine!)
– cinnamon sticks
– chocolate stir sticks (learn how to make your own!)
– chocolate sprinkles
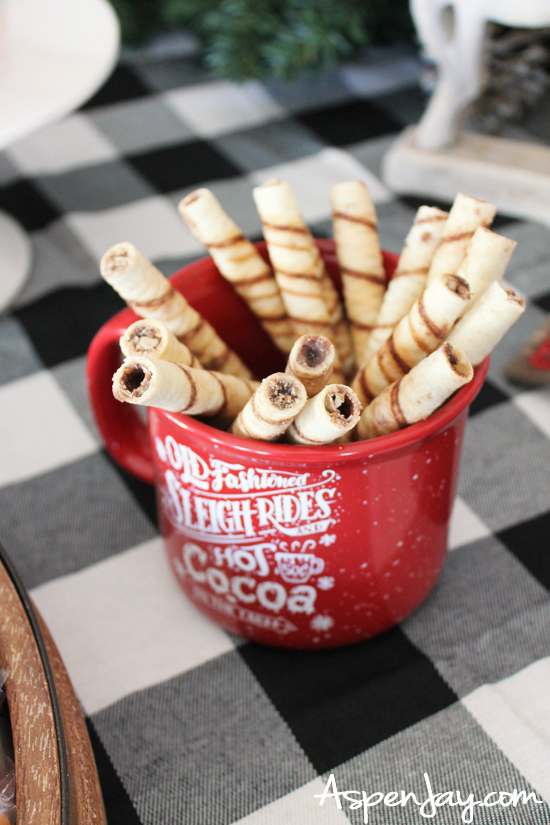
– Pirouette Cookies
– coarse sea salt (served in this container)
– caramel sauce
– chocolate sauce
– whipped cream
4. Displaying your Hot Chocolate Bar Toppings
The most enjoyable part for me by far is gathering and displaying the hot cocoa toppings.
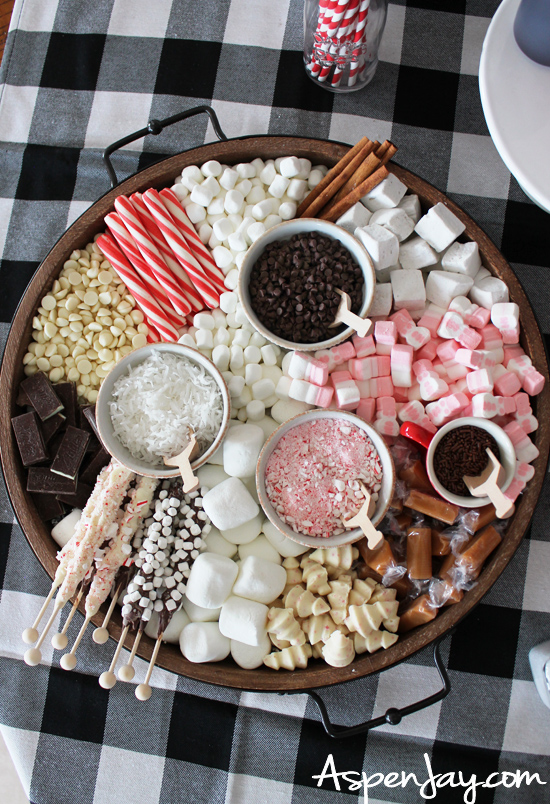
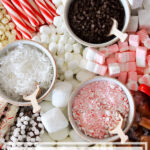
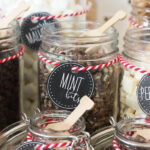
In the past, I showcased all the toppings in separate glass jars with my FREE chalkboard hot chocolate labels. But this time around I decided to switch things up. Since charcuterie boards are all the rage right now, instead of separating the toppings, I threw them all together to make a hot cocoa topping board.
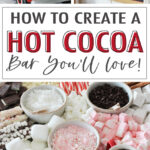
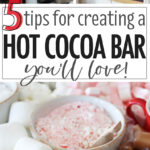
The result was deliciously fabulous! With all the colors, textures, and sizes, it was so enjoyable to look at and a BIG crowd pleaser. I won’t go into a lot of detail in this post, but be sure to click on over to my how to create a hot chocolate charcuterie board for some helpful tips to design your own.
Recreate the look:
Although I didn’t have everything labelled, I did bring out my FREE hot cocoa chalkboard labels (go grab them!). I used them on the drizzles and whipped cream bottles for guests’ convenience since they aren’t as easily distinguished as the toppings. The added touch helped them fit into the theme. Oh and be sure to use some wrapping paper to upscale your bottle of whipped cream. It really does wonders!
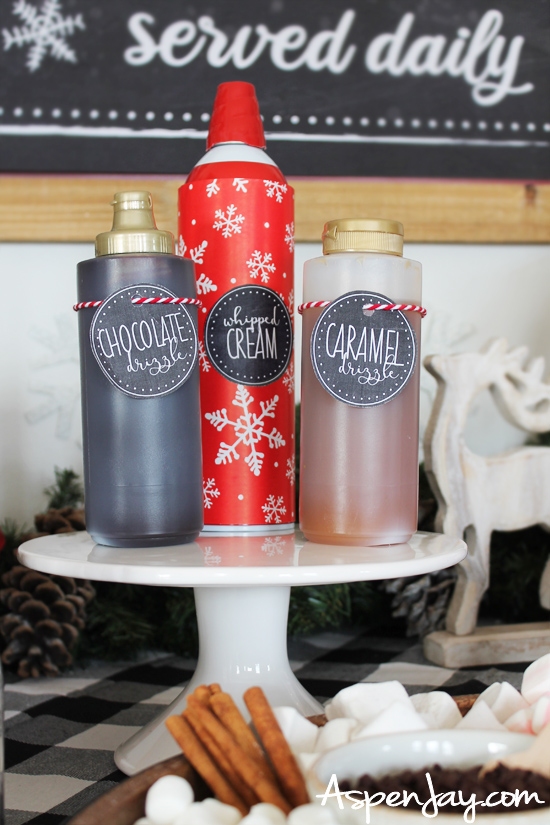
Recreate the look:
5. Gather Cocoa Serving Supplies
With your array of tasty embellishments, don’t forget the cocoa and how you plan to serve it.
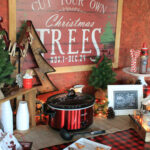
How do you keep hot chocolate warm for a hot chocolate bar? What I have done in years past, is whip up a batch of hot cocoa and keep it warm in a crockpot for our hot chocolate bar. But last year, I contemplated whether or not to buy an actual hot beverage dispenser to make for easier serving. When I finally decided to make the purchase, it didn’t arrive in time for the hot chocolate party. Sad day!
So this year I was REALLY excited to use it.
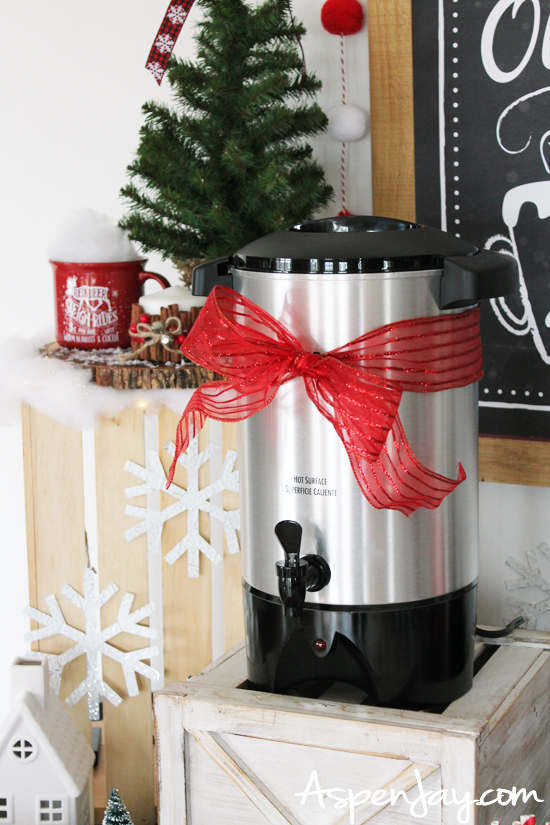
It made such a difference!
Aside from the hot beverage dispenser adding some nice visual height to the table, it was so much easier and cleaner than using a ladle to scoop the cocoa out of our crockpot (especially in regards to the little kids!).
We will definitely be using it for future cold weather parties!
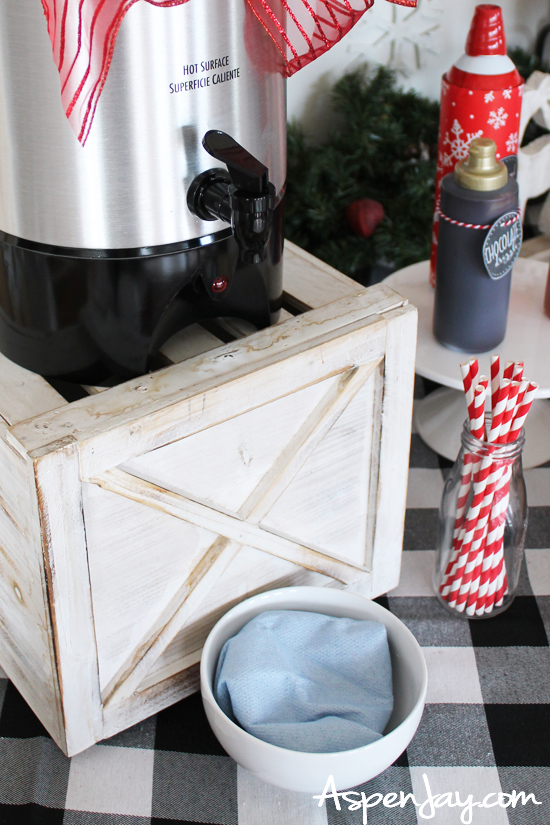
Recreate the look:
Let me share this little hack to prevent spills. Add a bowl with a cloth beneath the dispenser to catch any drips after guests pour their hot cocoa.
Speaking of guests, you’ll also need cups for everyone. In the past, I have just used styrofoam cups. And I always question my choice afterwards because I despise the sound of them and they definitely lack class.
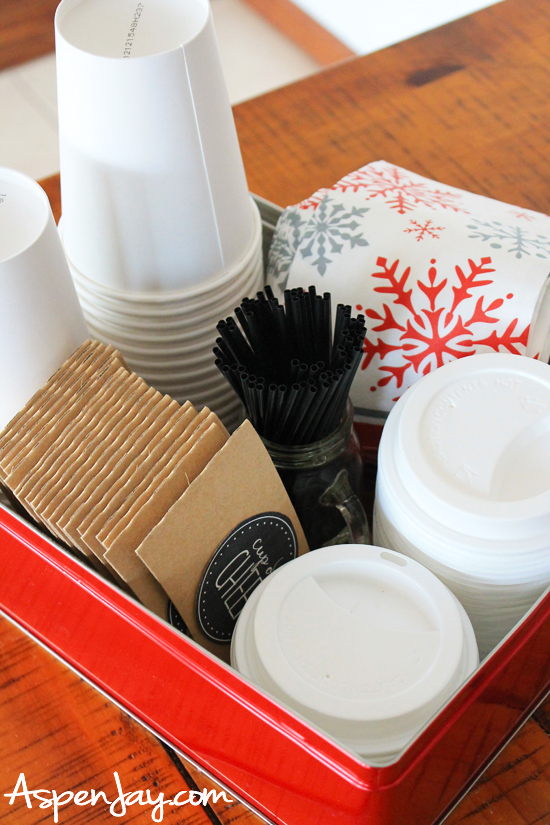
This year I purchased disposable coffee cups that were compete with sleeves, lids, and straws.
And let me tell you it definitely made the whole hot chocolate experience so much more enjoyable (and made it feel a bit more up-class!). The cups with the sleeves were sturdier than the styrofoam.
The little straws were perfect (the festive paper straws are all for show -shocking I know!- they aren’t the best in hot cocoa!), and as the host, I was very grateful for the lids. Preventing many a spill that would have happened otherwise. 🙂
Recreate the look:
Grab the FREE Labels for your DIY Hot Chocolate Bar
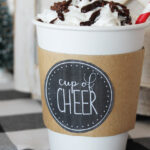
And to tie it all in, I designed these “cup of cheer” printables that I attached to the sleeves using double sided tape. You can download the cup of cheer labels for free here.
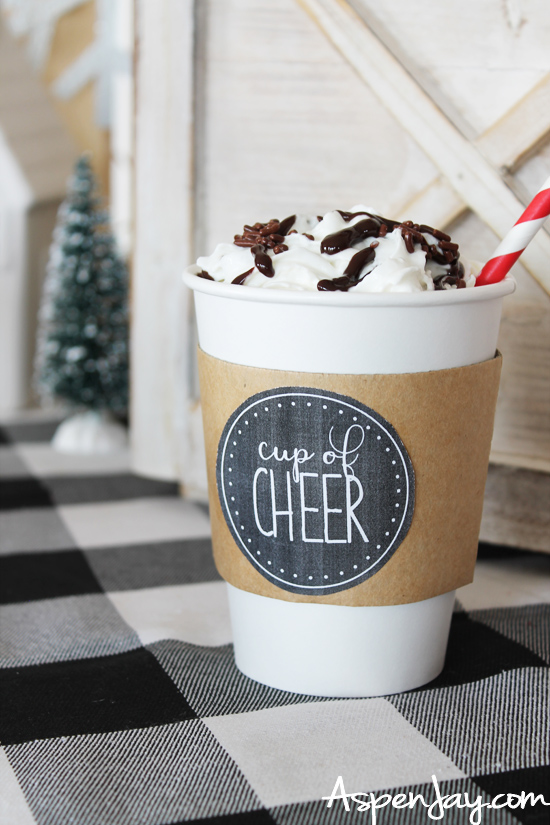
Yum. Yum. Hot Cocoa! Mmmmm…
Hope this post gave you some inspiration in designing your own DIY hot chocolate bar.
Be sure to let me know in the comments below what your favorite hot cocoa topping is. Mine currently is Andes peppermint chips, what’s yours?
Did you find this post helpful? Then save THIS PIN below to your Christmas board!



I love andes mints & Rum Chada in mine. Have you thought about making the labels editable? I would love to be able to keep with the theme and have some round or square signs in this design to label the other dishes at the party.
Hi! Can you tell me how you prepare the hot chocolate for the beverage dispenser? Do you premake the hot chocolate? Do you use milk? The coffee brewing is throwing me off